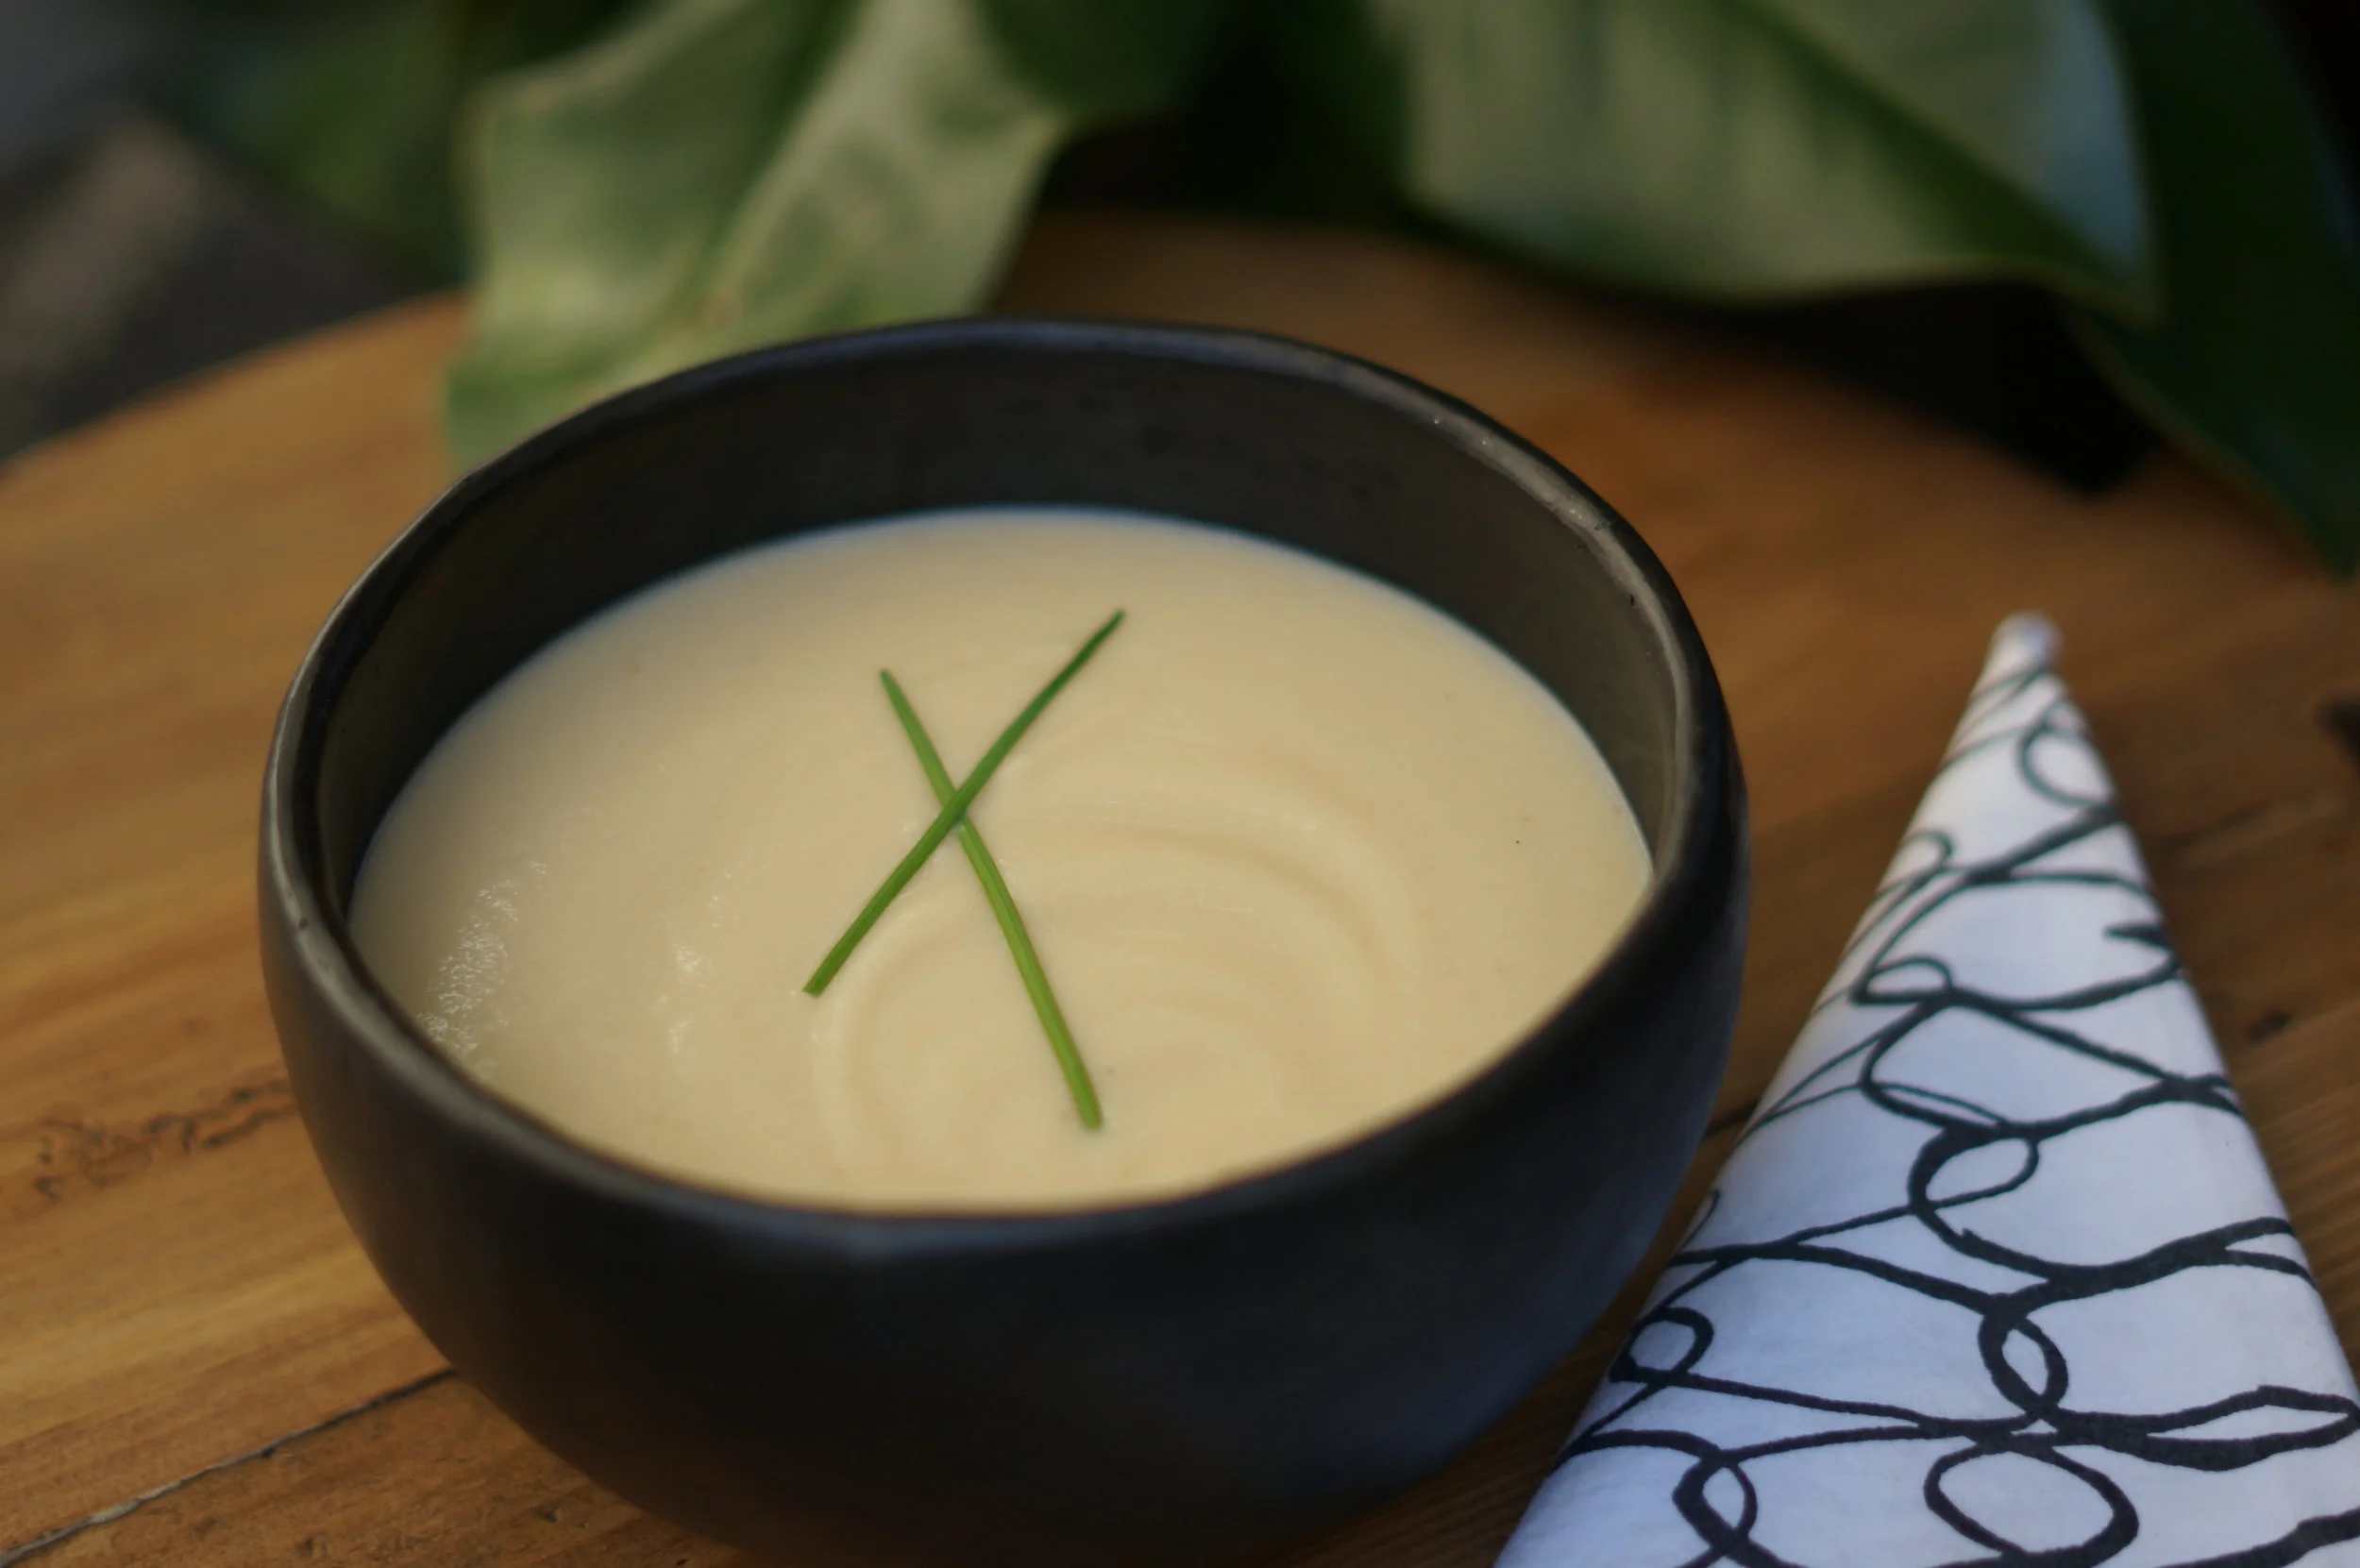
My creamy cauliflower soup has no milk or cream and yet it tastes and feels richly satisfying. The creaminess comes from raw cashews, that when soaked and blended with cauliflower, create a velvety delicious soup. It meets Paleo, vegan, and Whole 30 guidelines, and its easy to prepare. I have used raw cashews to thicken sauces, and soups before, but when I combined it with the cauliflower, my husband thought we were eating potato soup. Make it on Sunday and you will be ready for meatless Mondays!
You must buy raw, whole cashews for this recipe. I purchase mine from Whole Foods. I also prefer low sodium organic vegetable broth so you can control the saltiness.
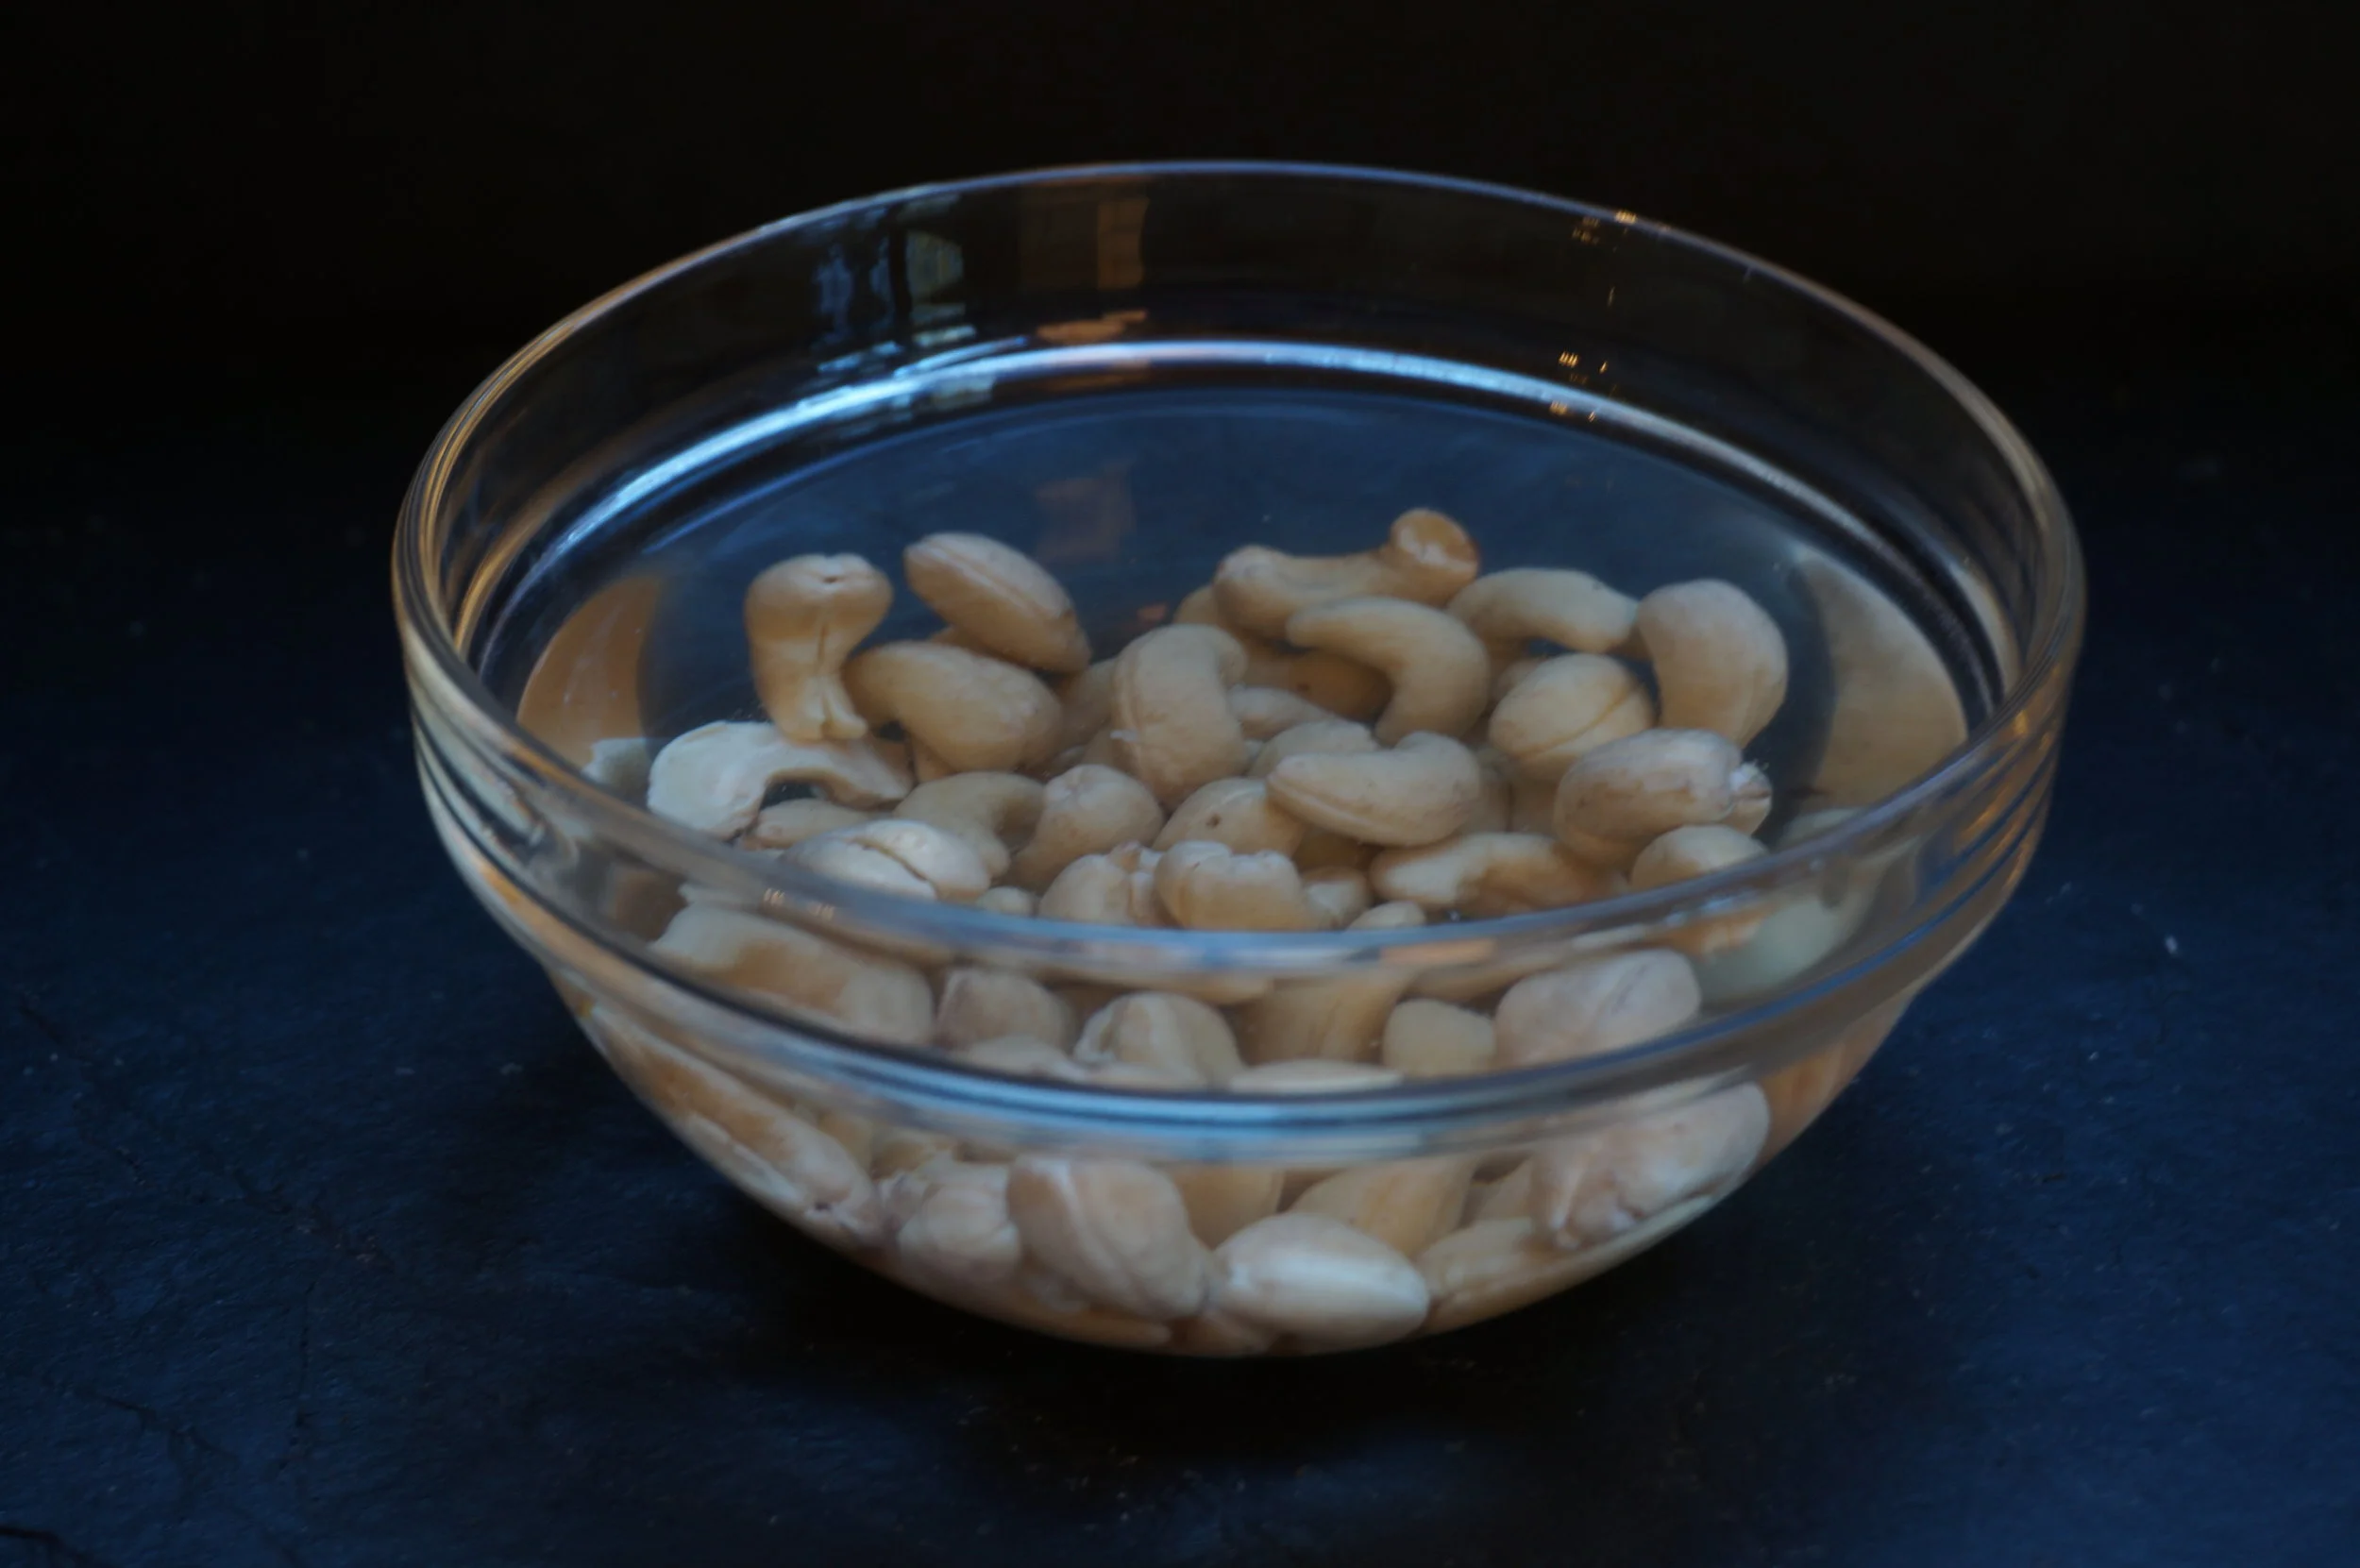
You must soak the cashews a minimum of 2 hours, but preferably overnight. The reason I soak the nuts is to make them easier to digest. According to Whole Lifestyle Nutrition: "By soaking you are breaking down the phytic acid so it can be absorbed properly. Nuts also have high amounts of enzymes inhibitors. This is another reason why unsoaked nuts are hard to digest, Soaking nuts neutralizes the enzymes allowing for proper digestion."
I like to store the leftover cashews in the freezer.
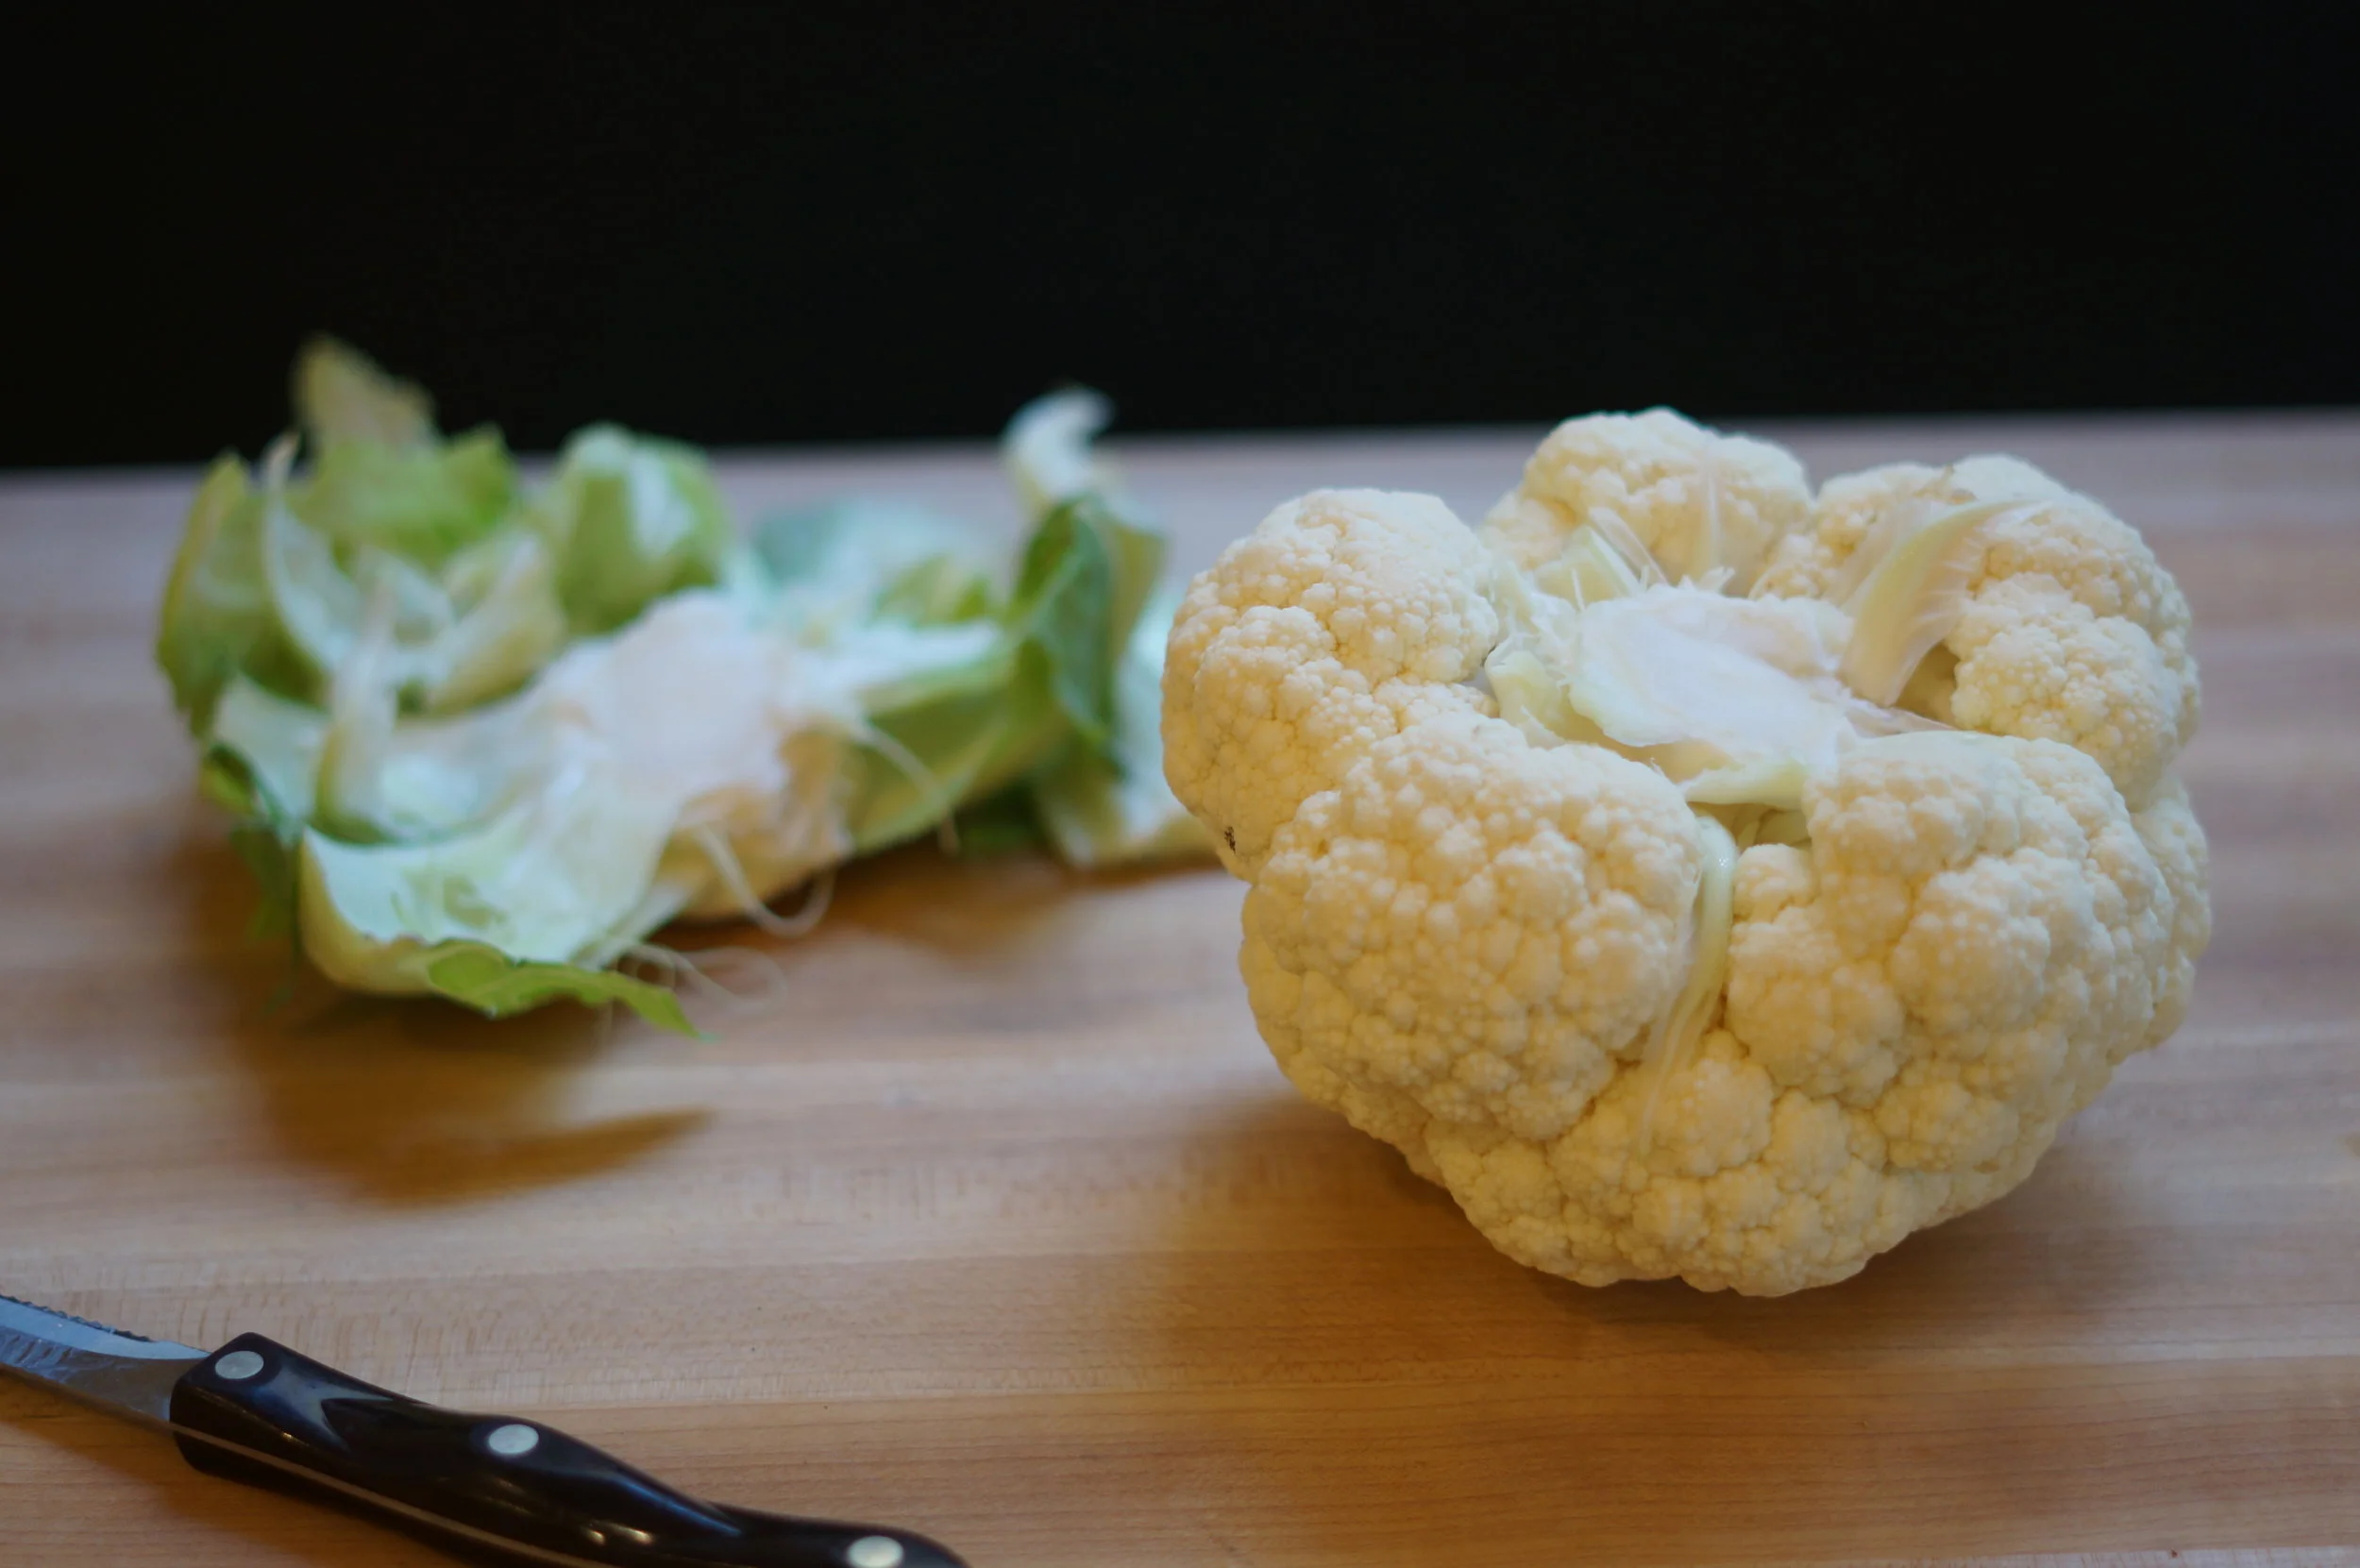
Cut off the bottom core and remove the leaves of the cauliflower.
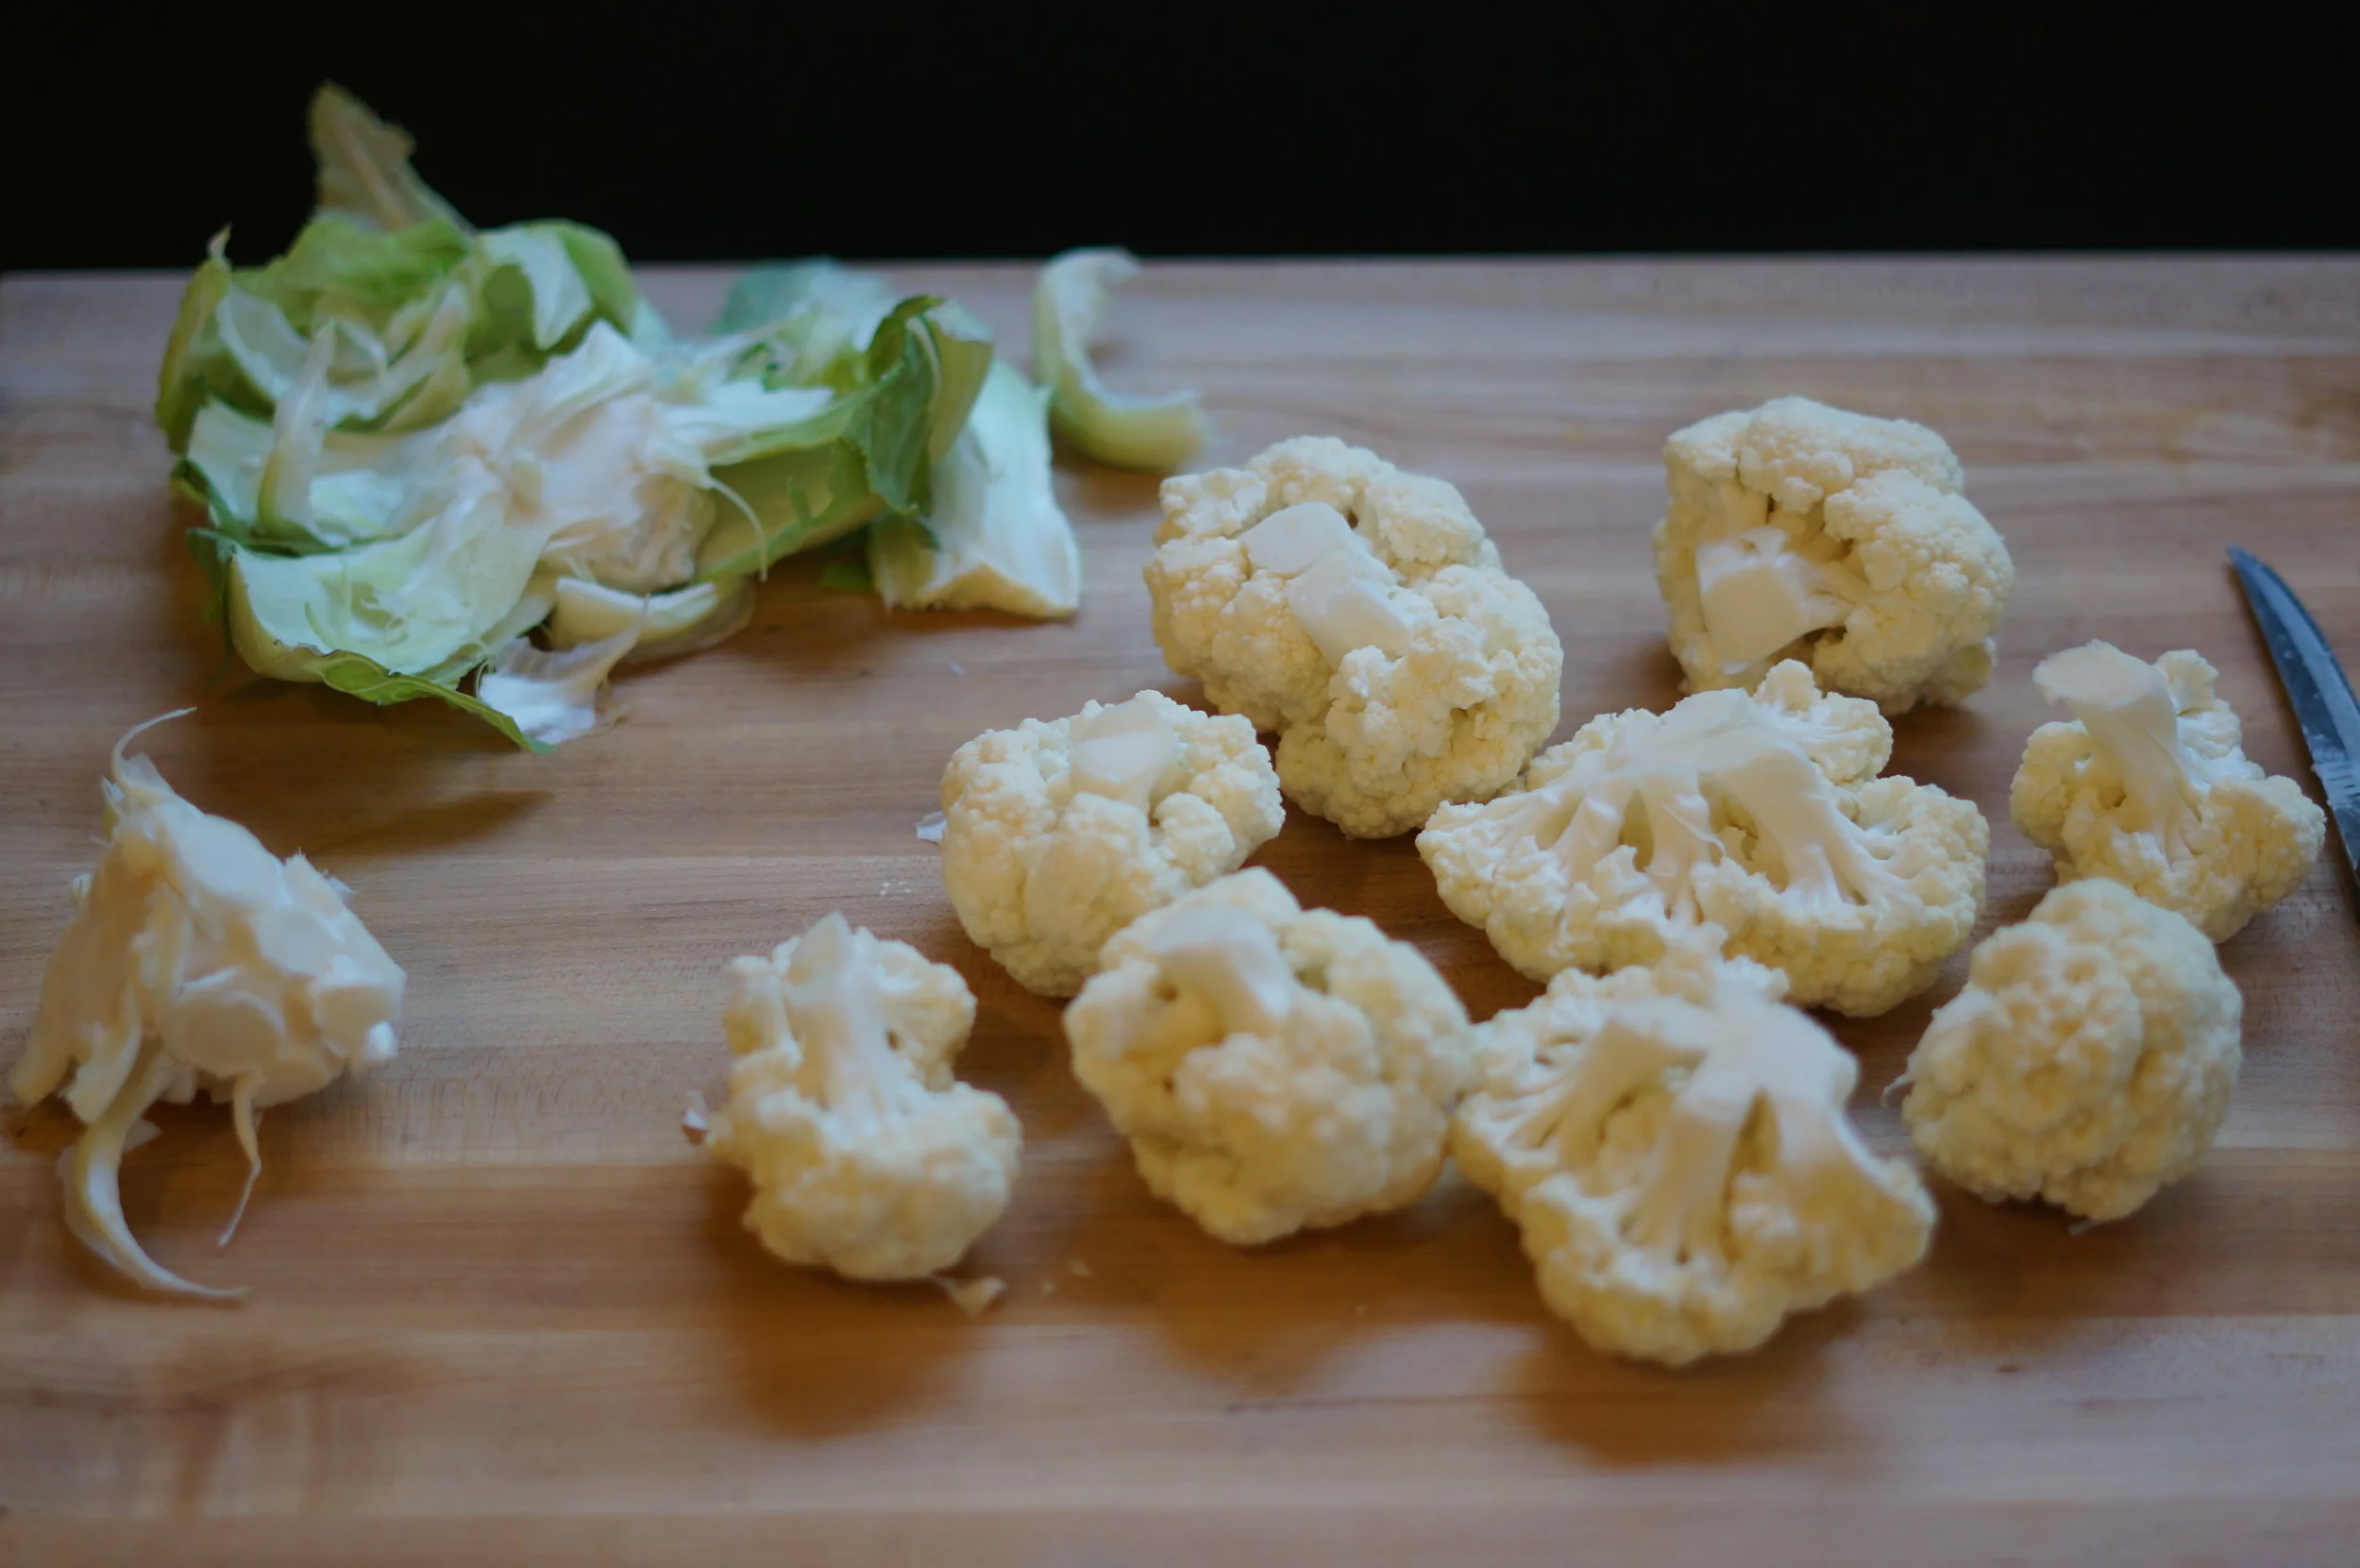
Now cut the branches off around the core.
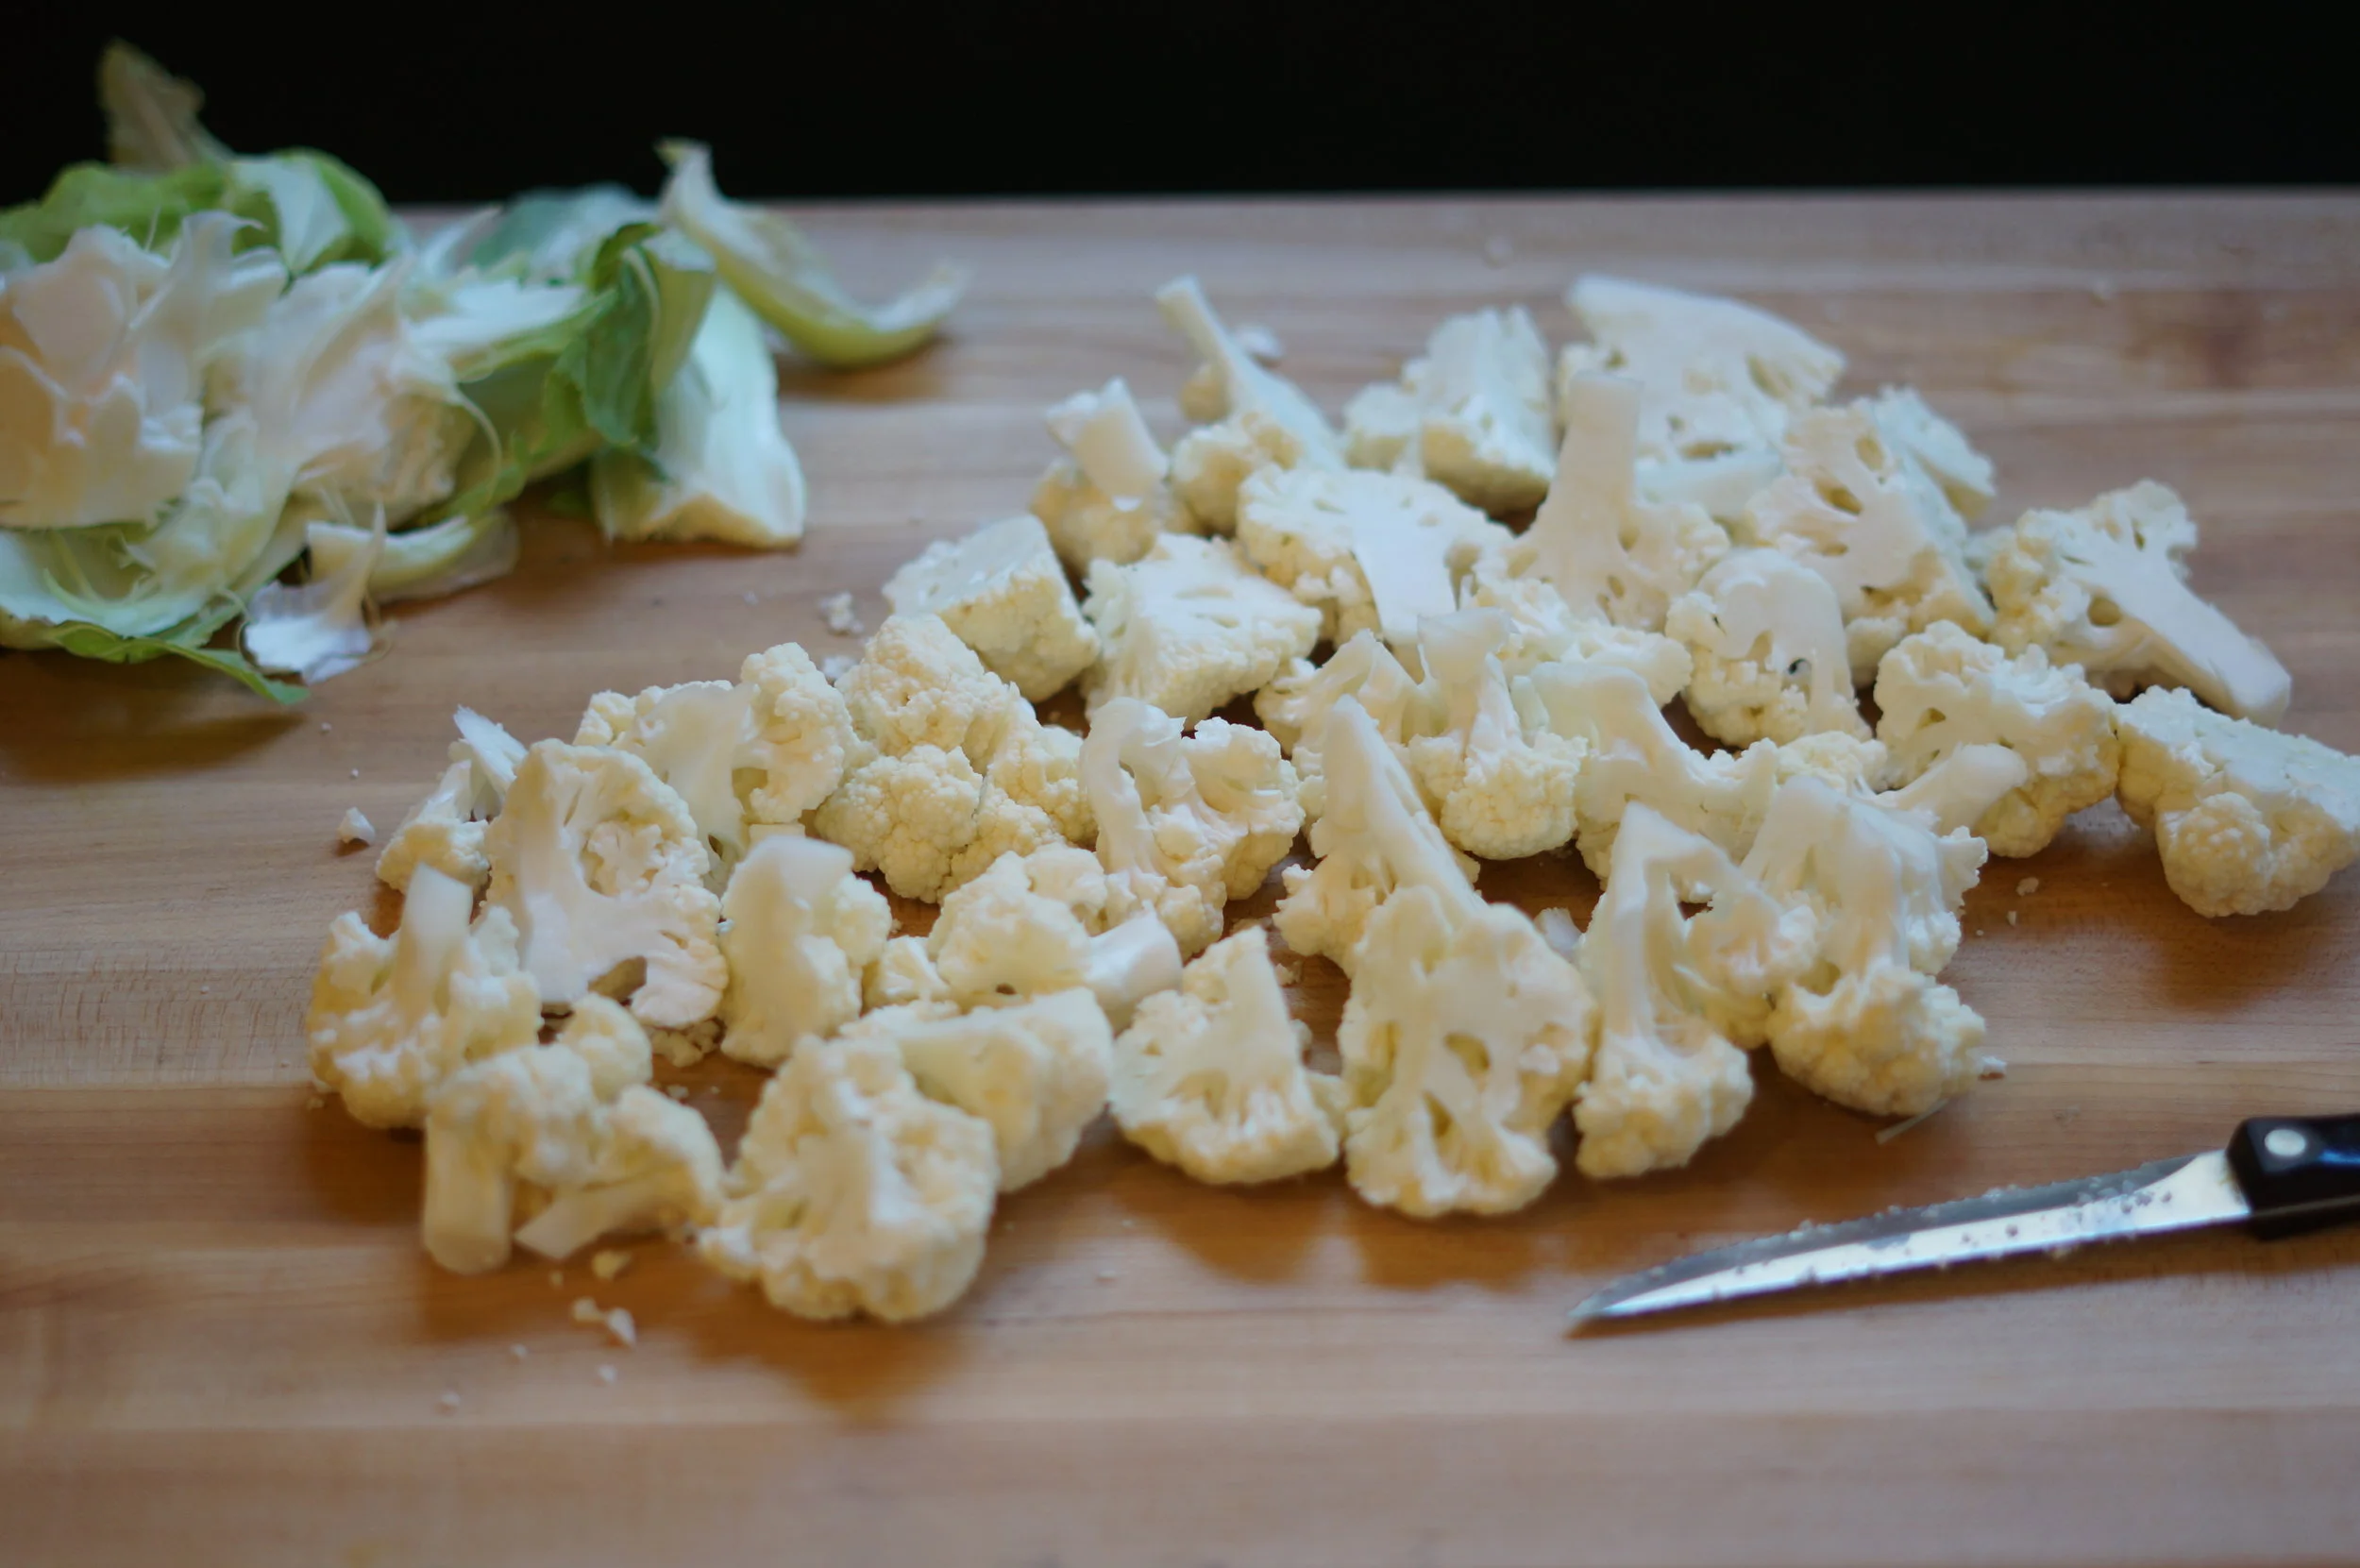
Break or cut the branches into smaller pieces of cauliflower. Discard the core and leaves.
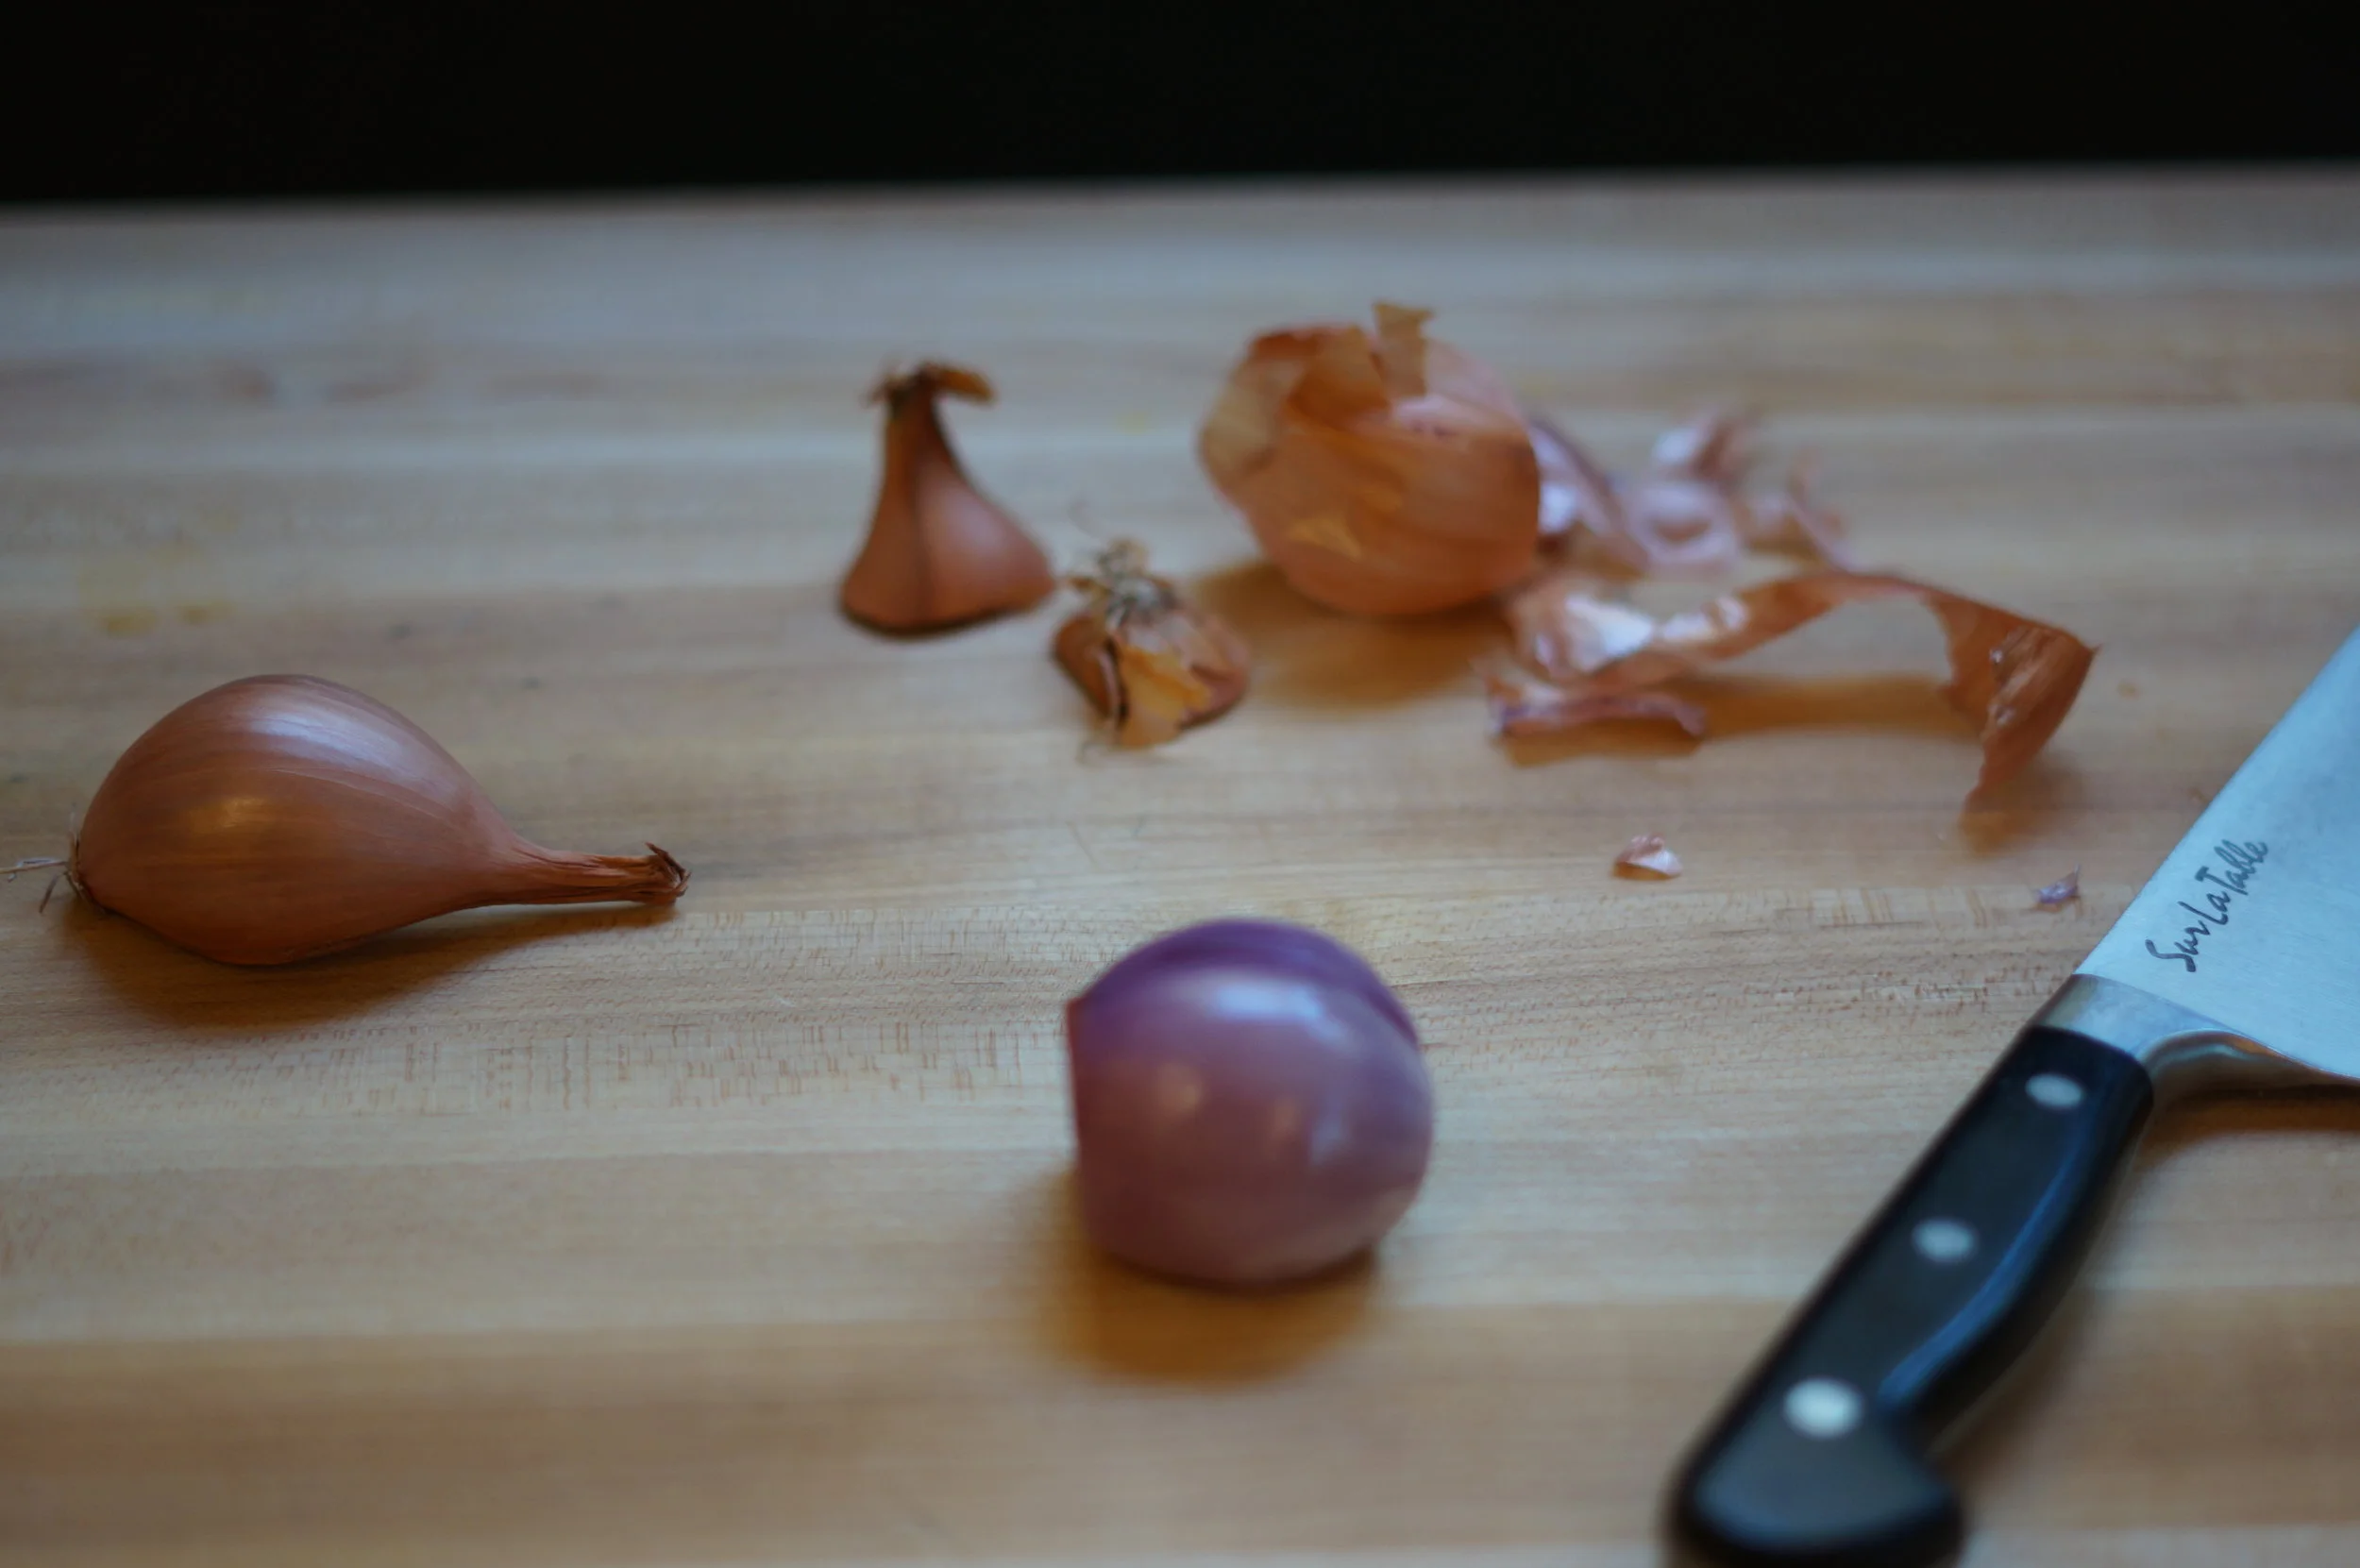
Cut the ends off the shallots and peel off the orange skin.
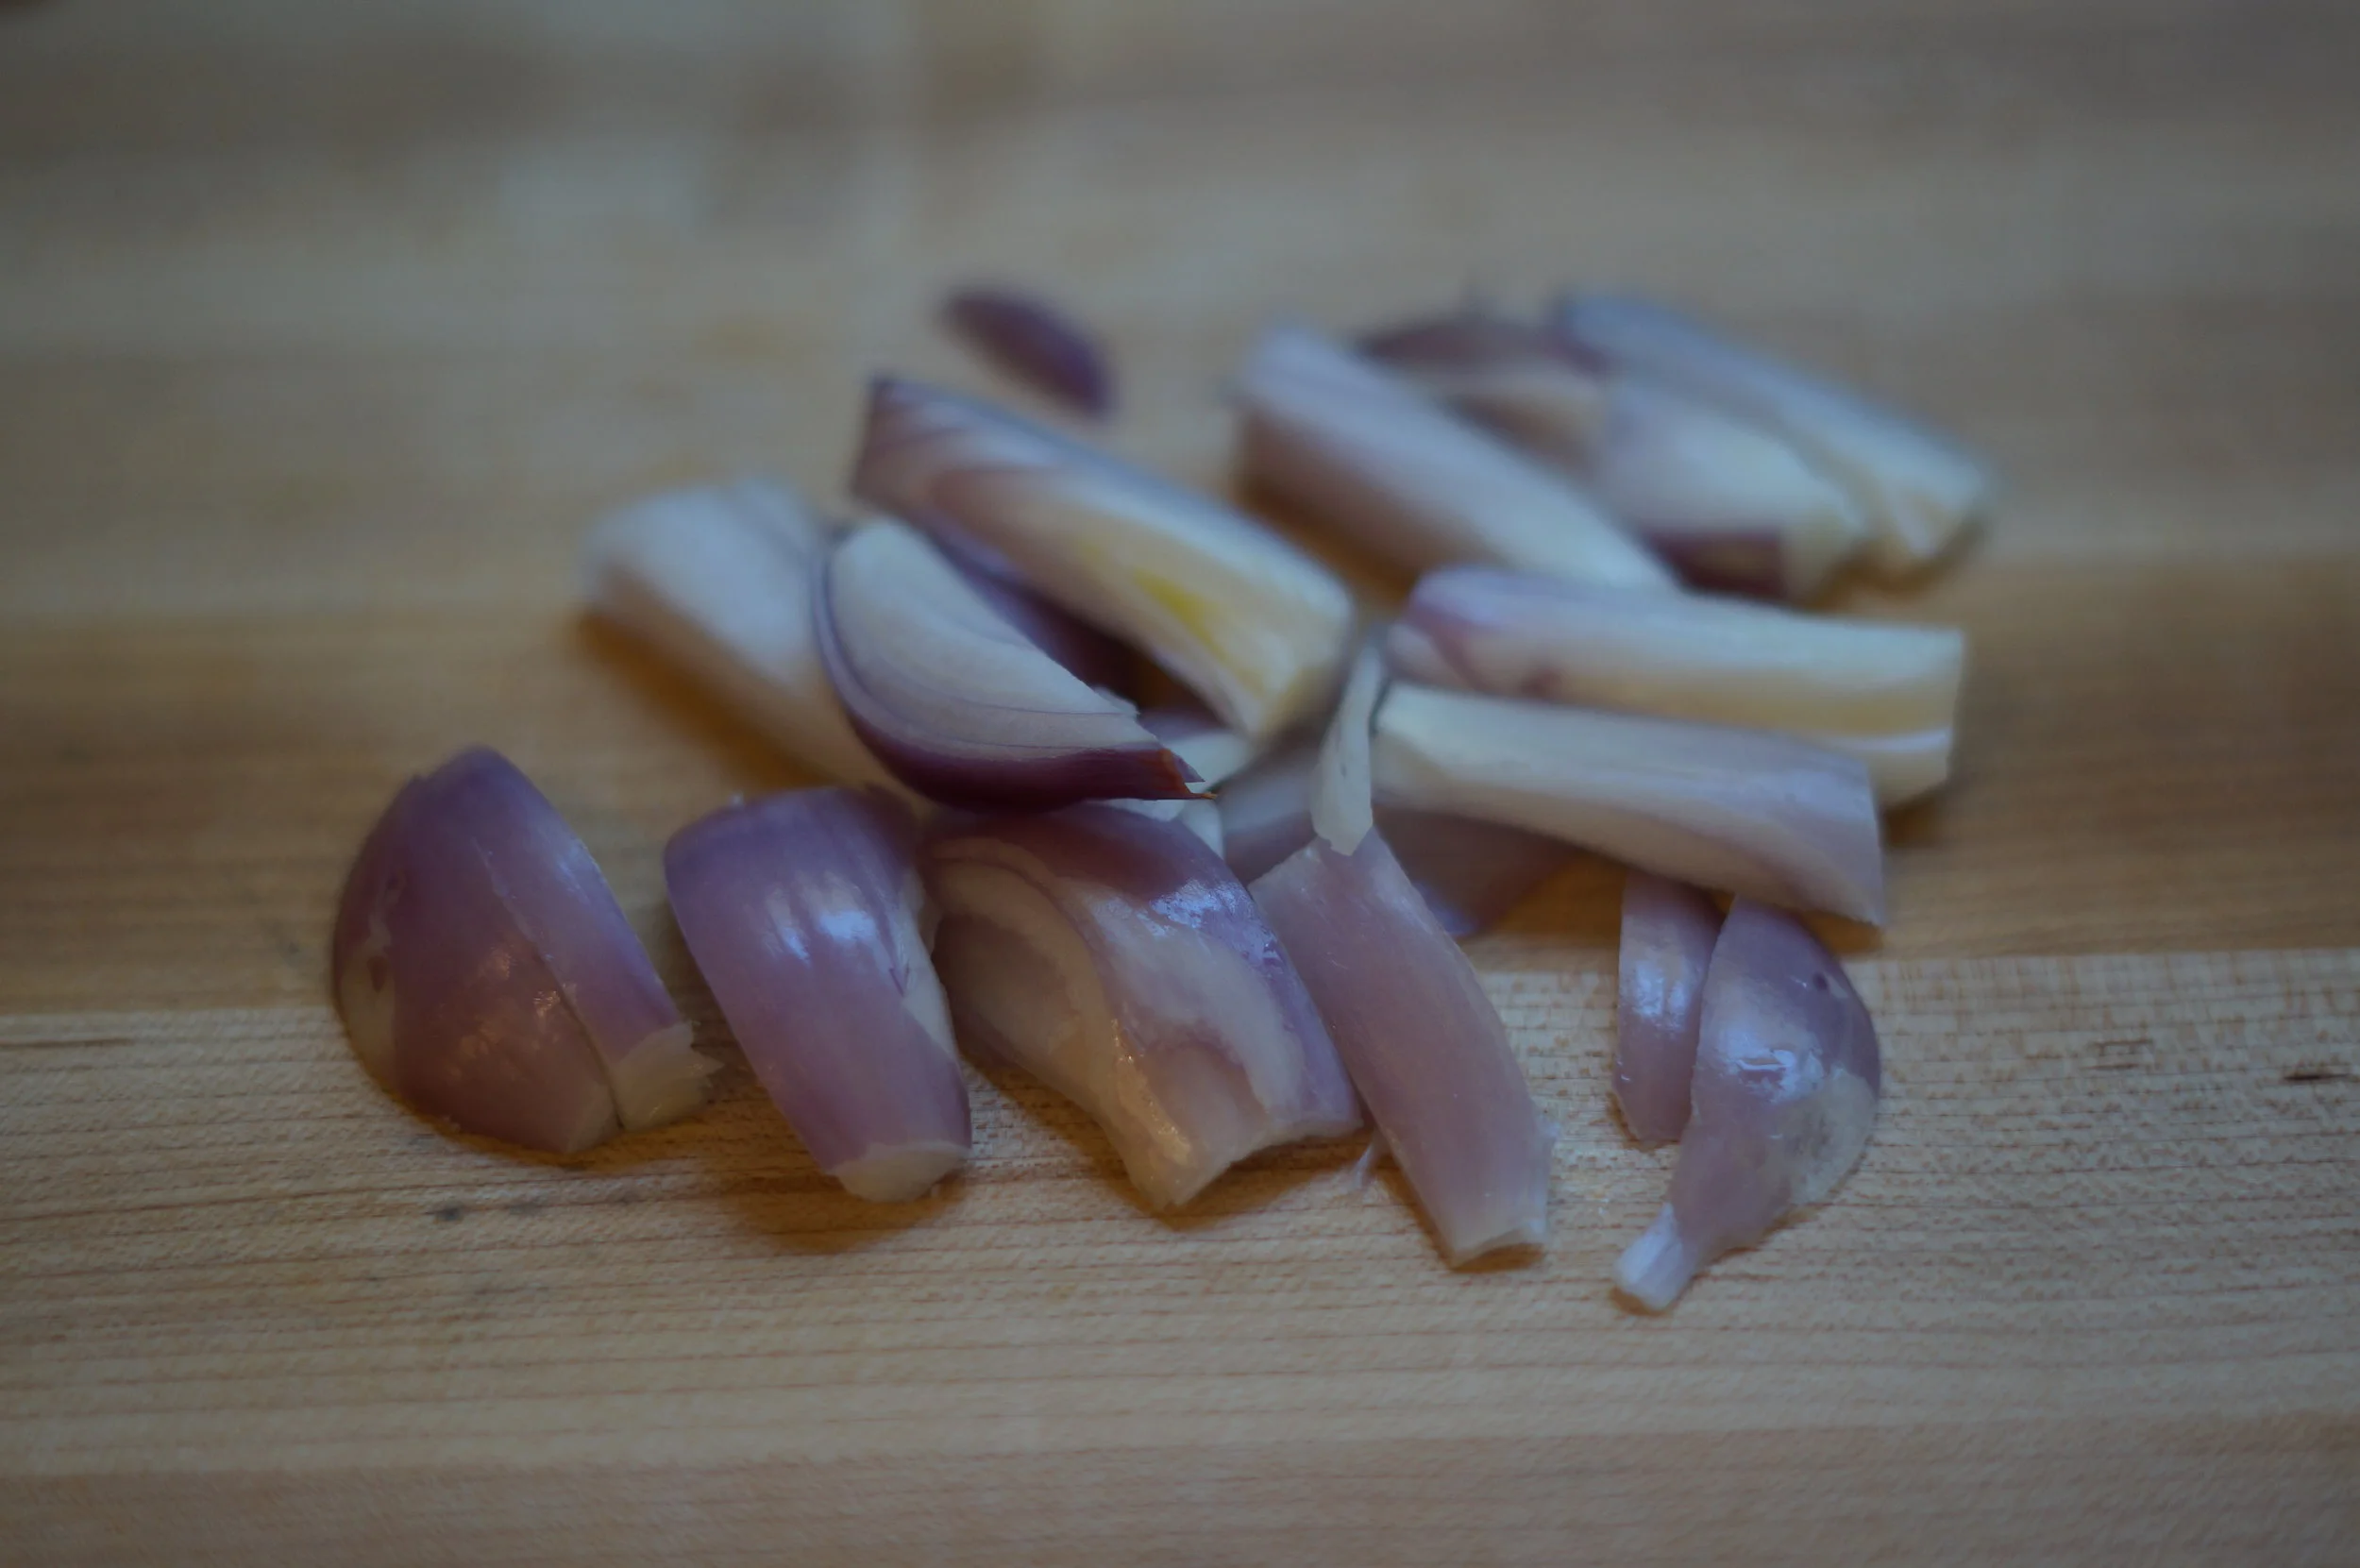
Roughly chop the shallots. They will be blended in the blender so they do not need to be finely chopped.
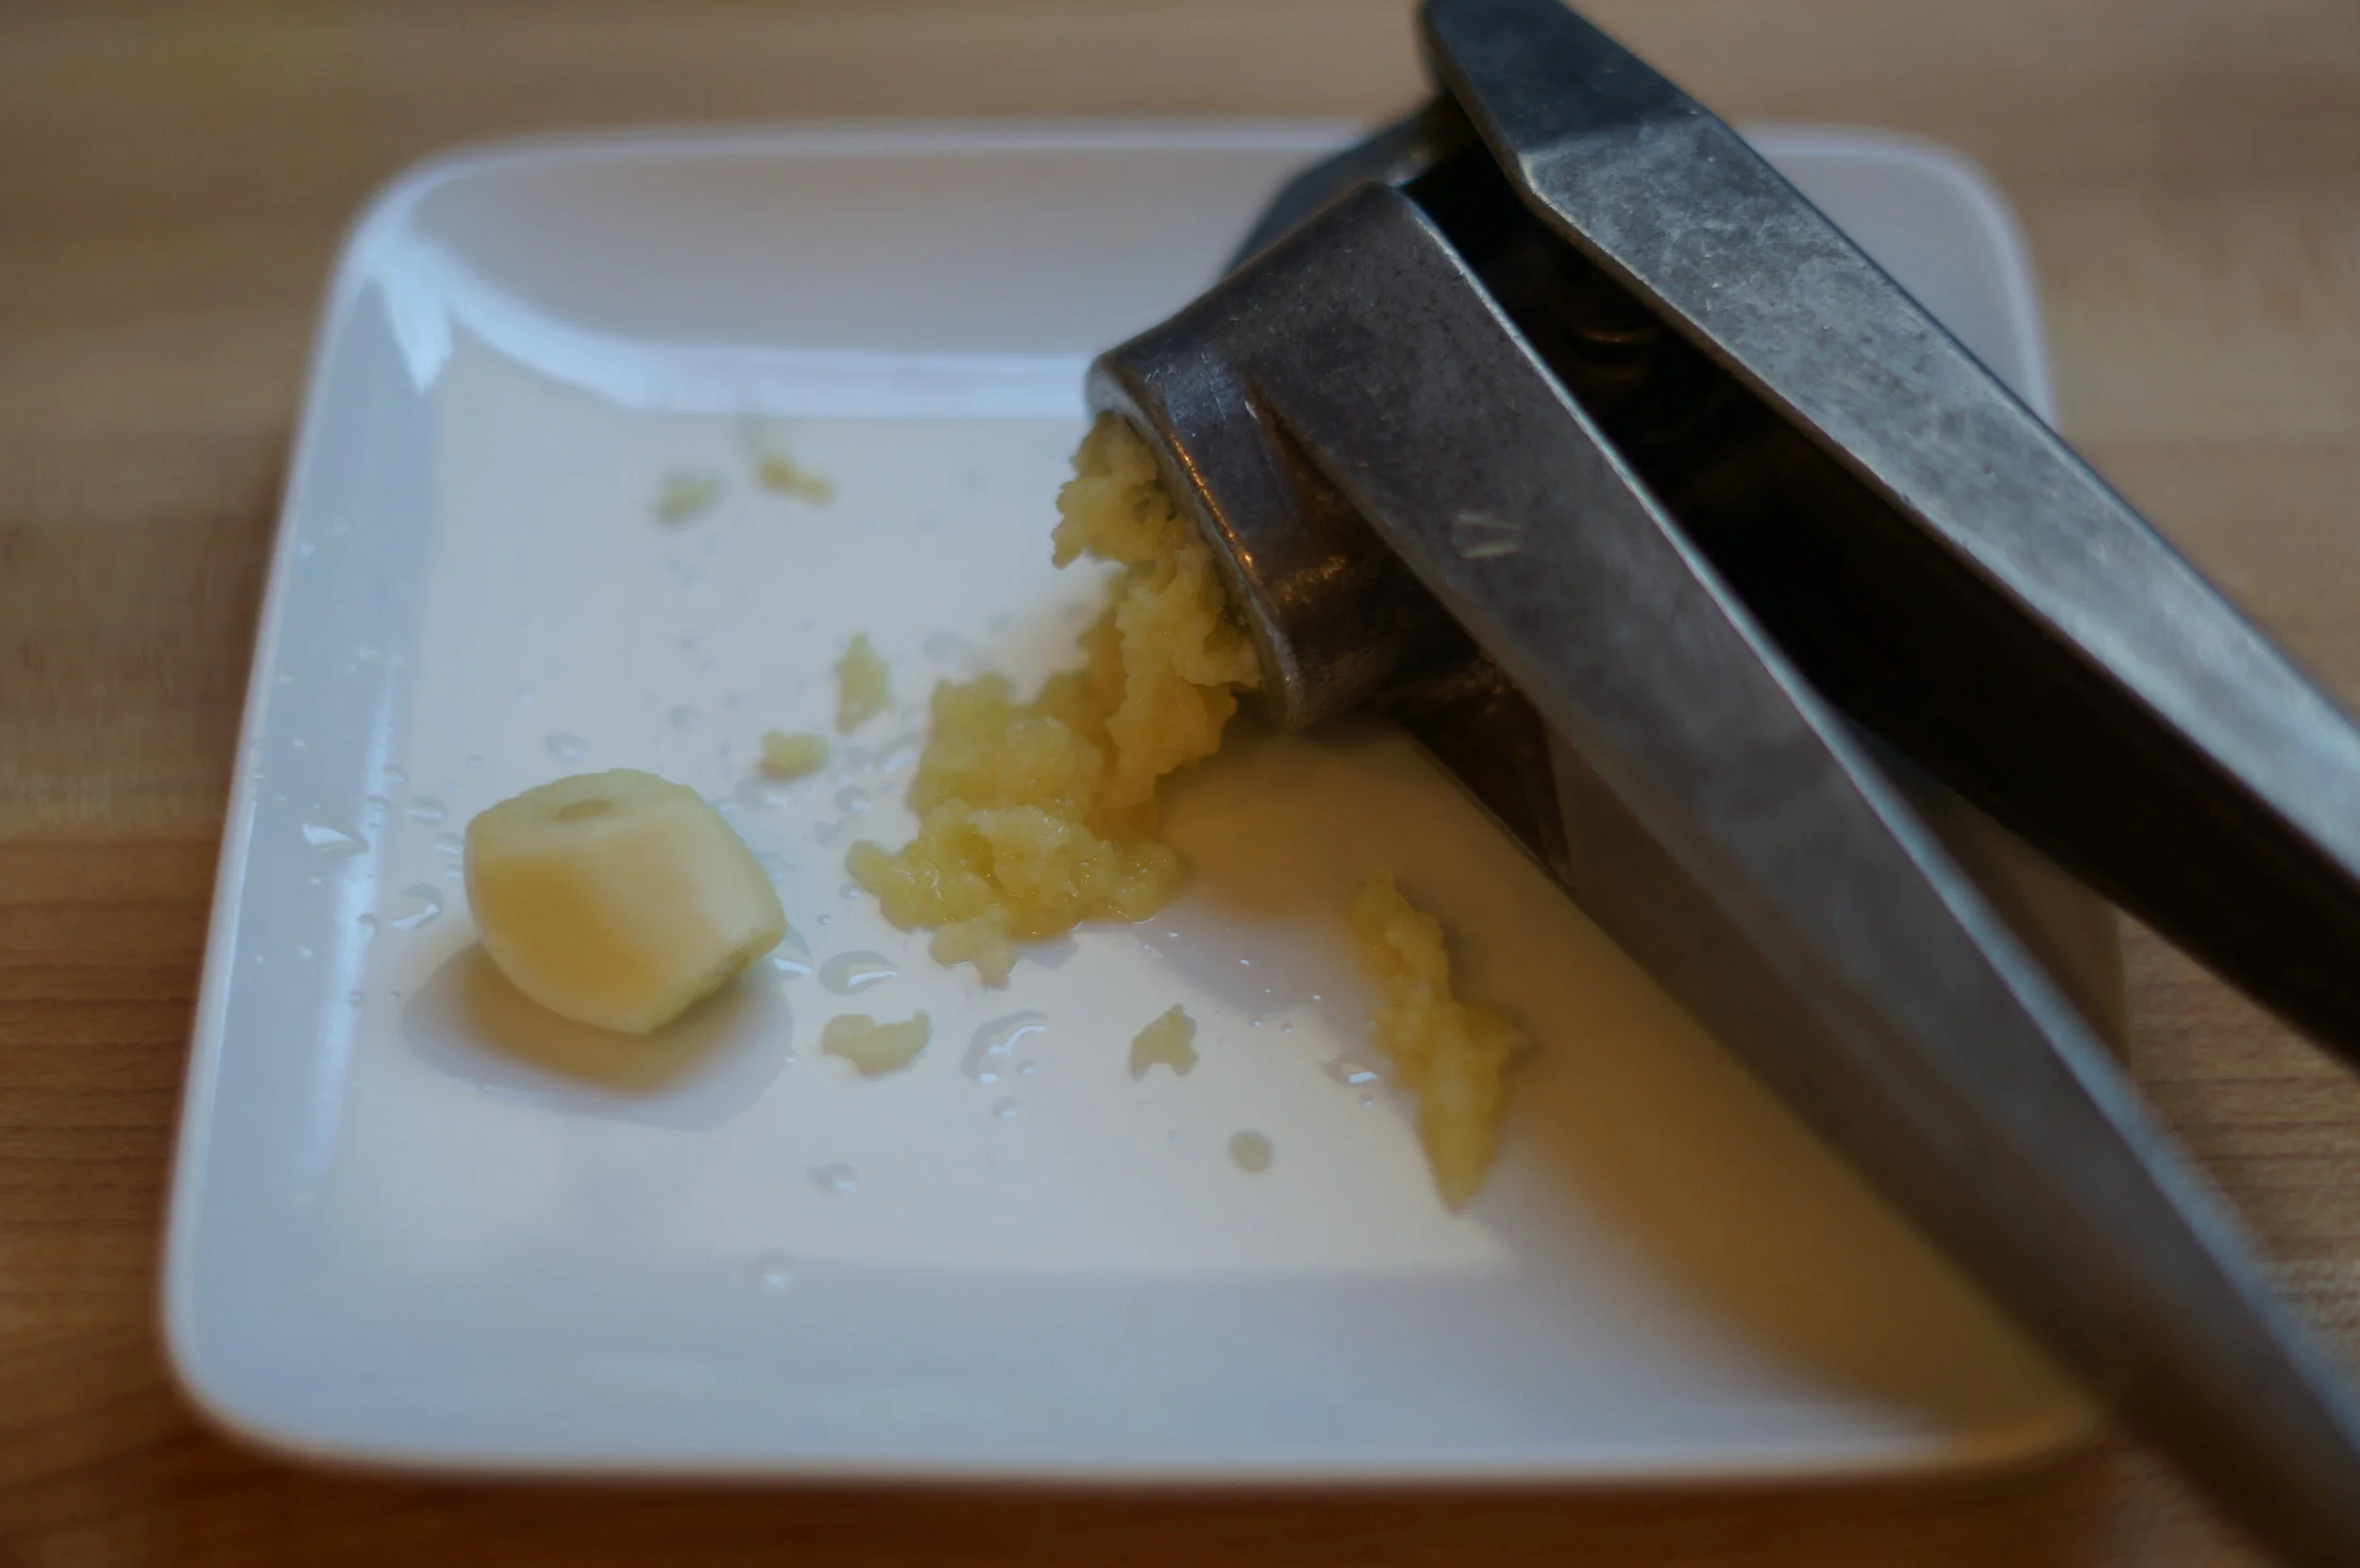
Prep your garlic with a garlic press.
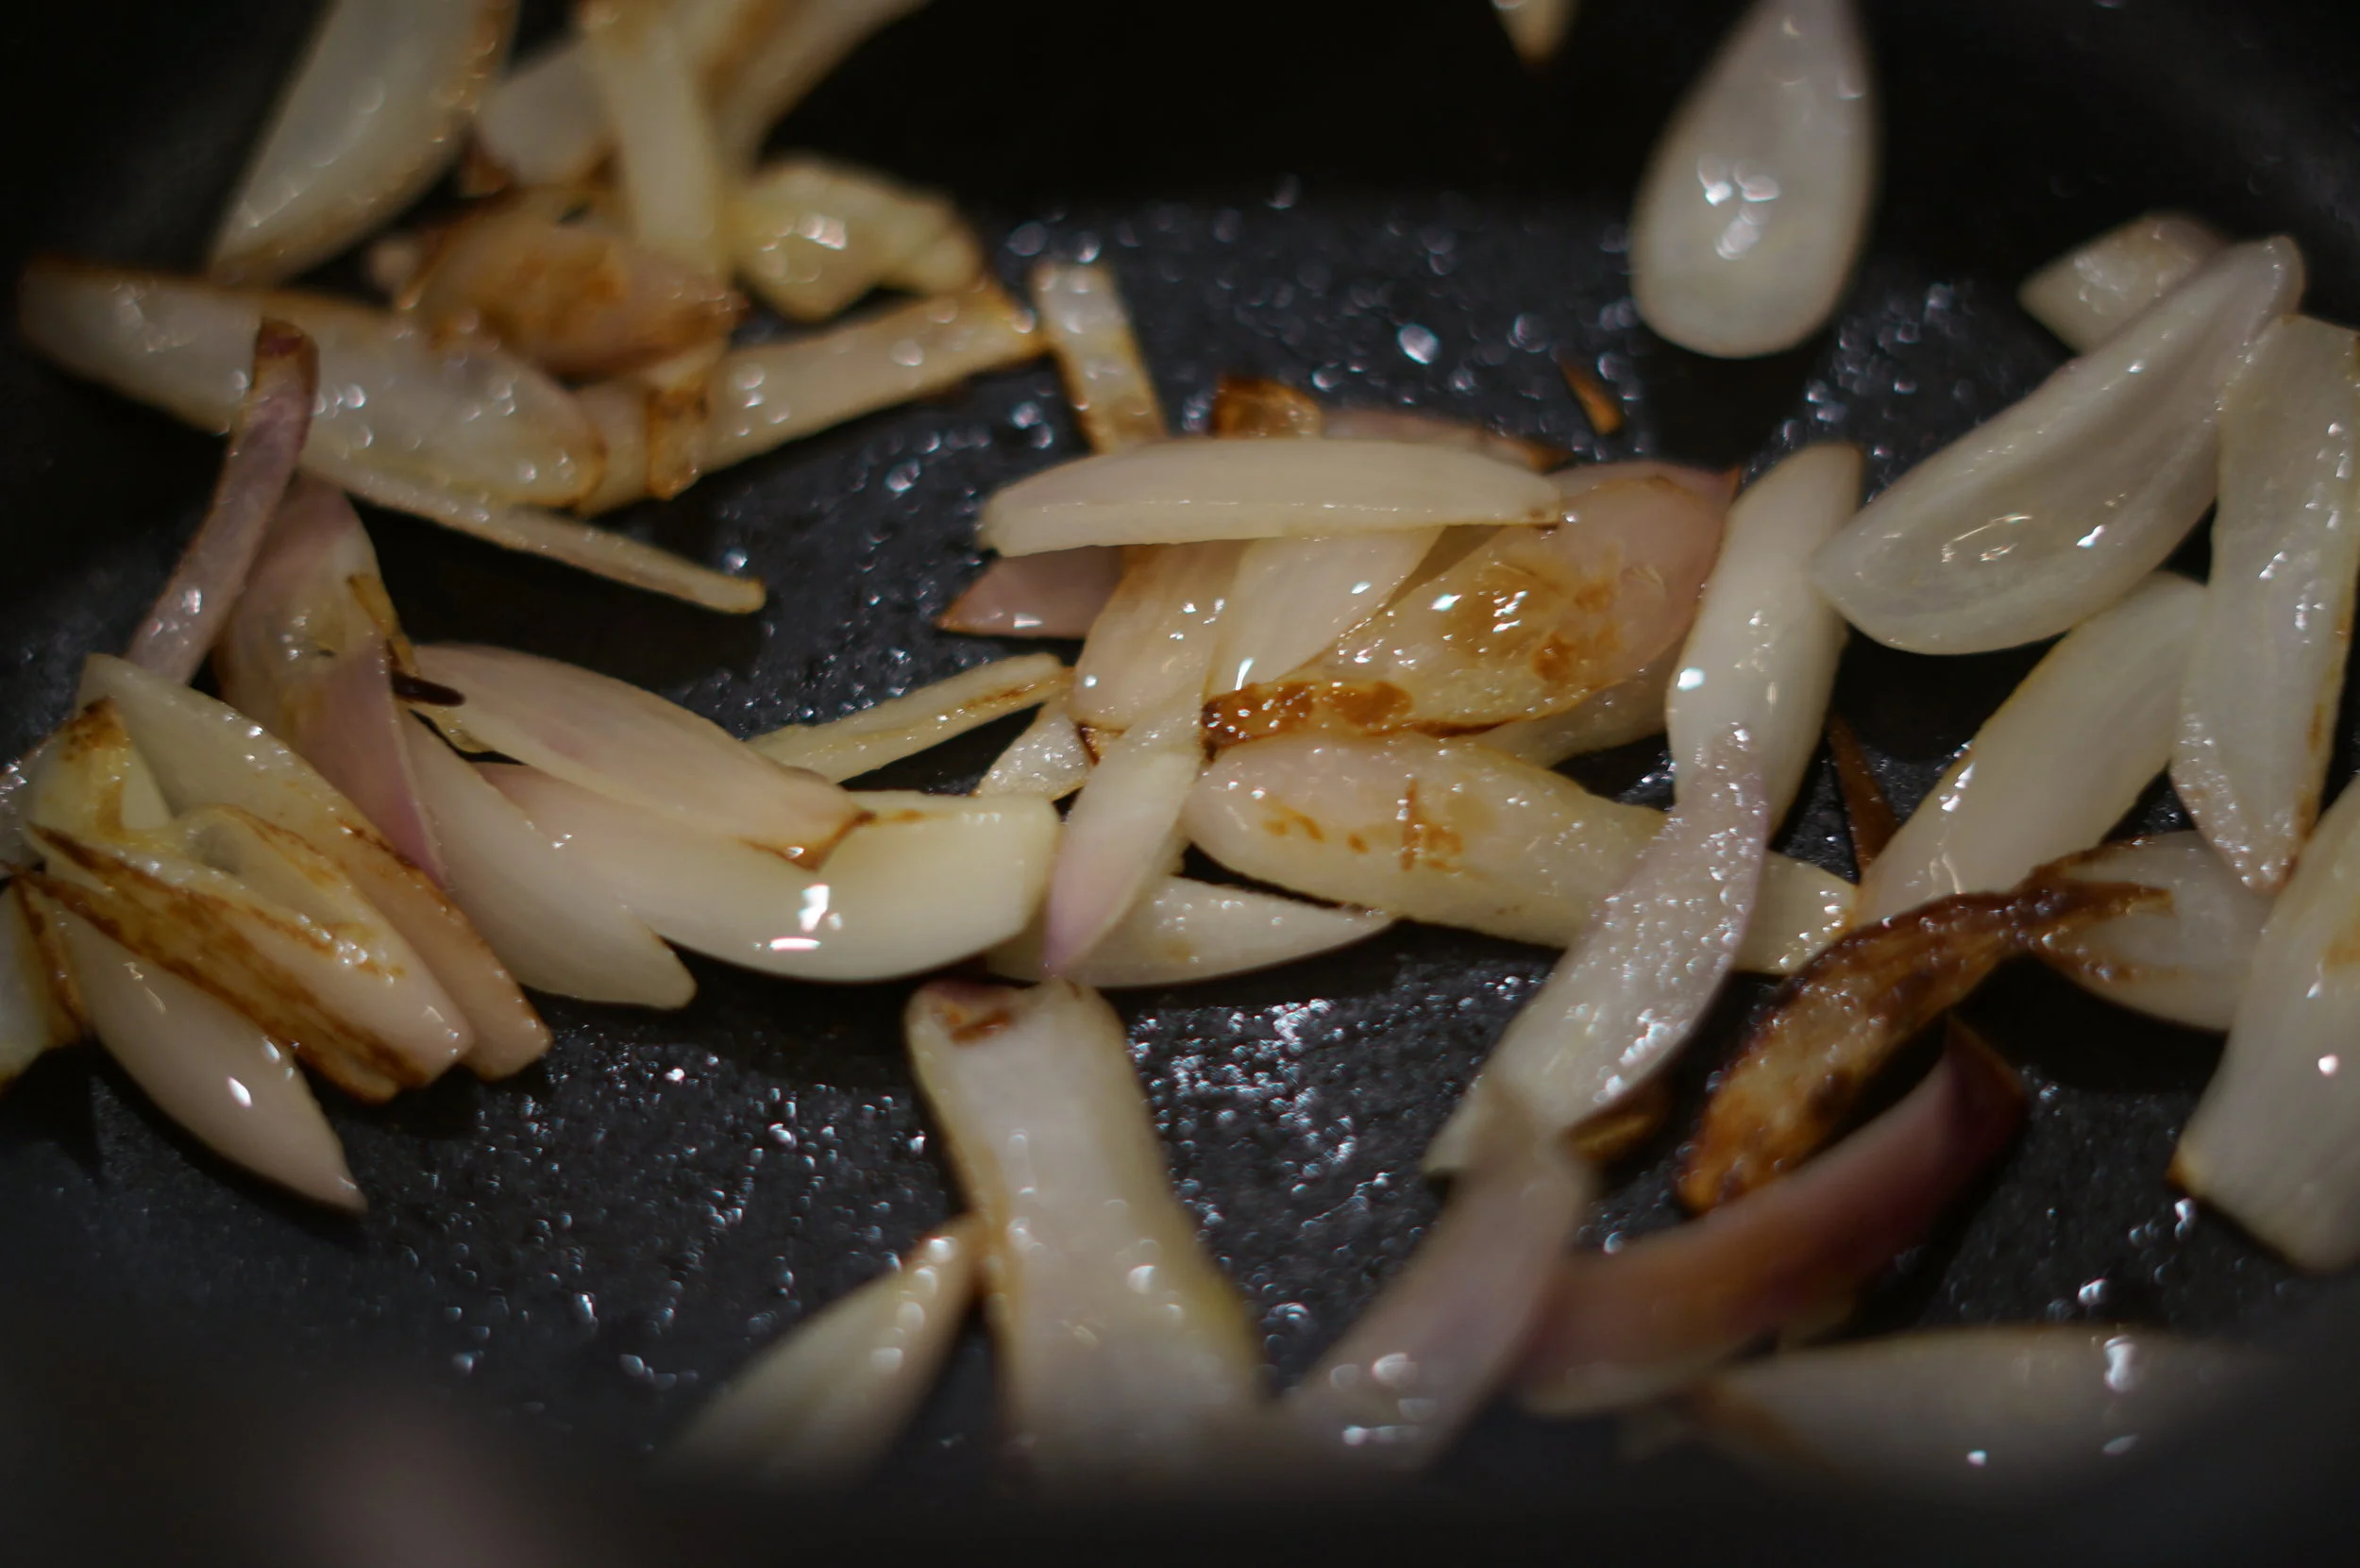
Pull out a medium sauce pan. Turn heat on high and add a teaspoon of olive oil. Add the shallots and cook on high heat for 3-5 minutes, stirring occasionally till they have a little color.
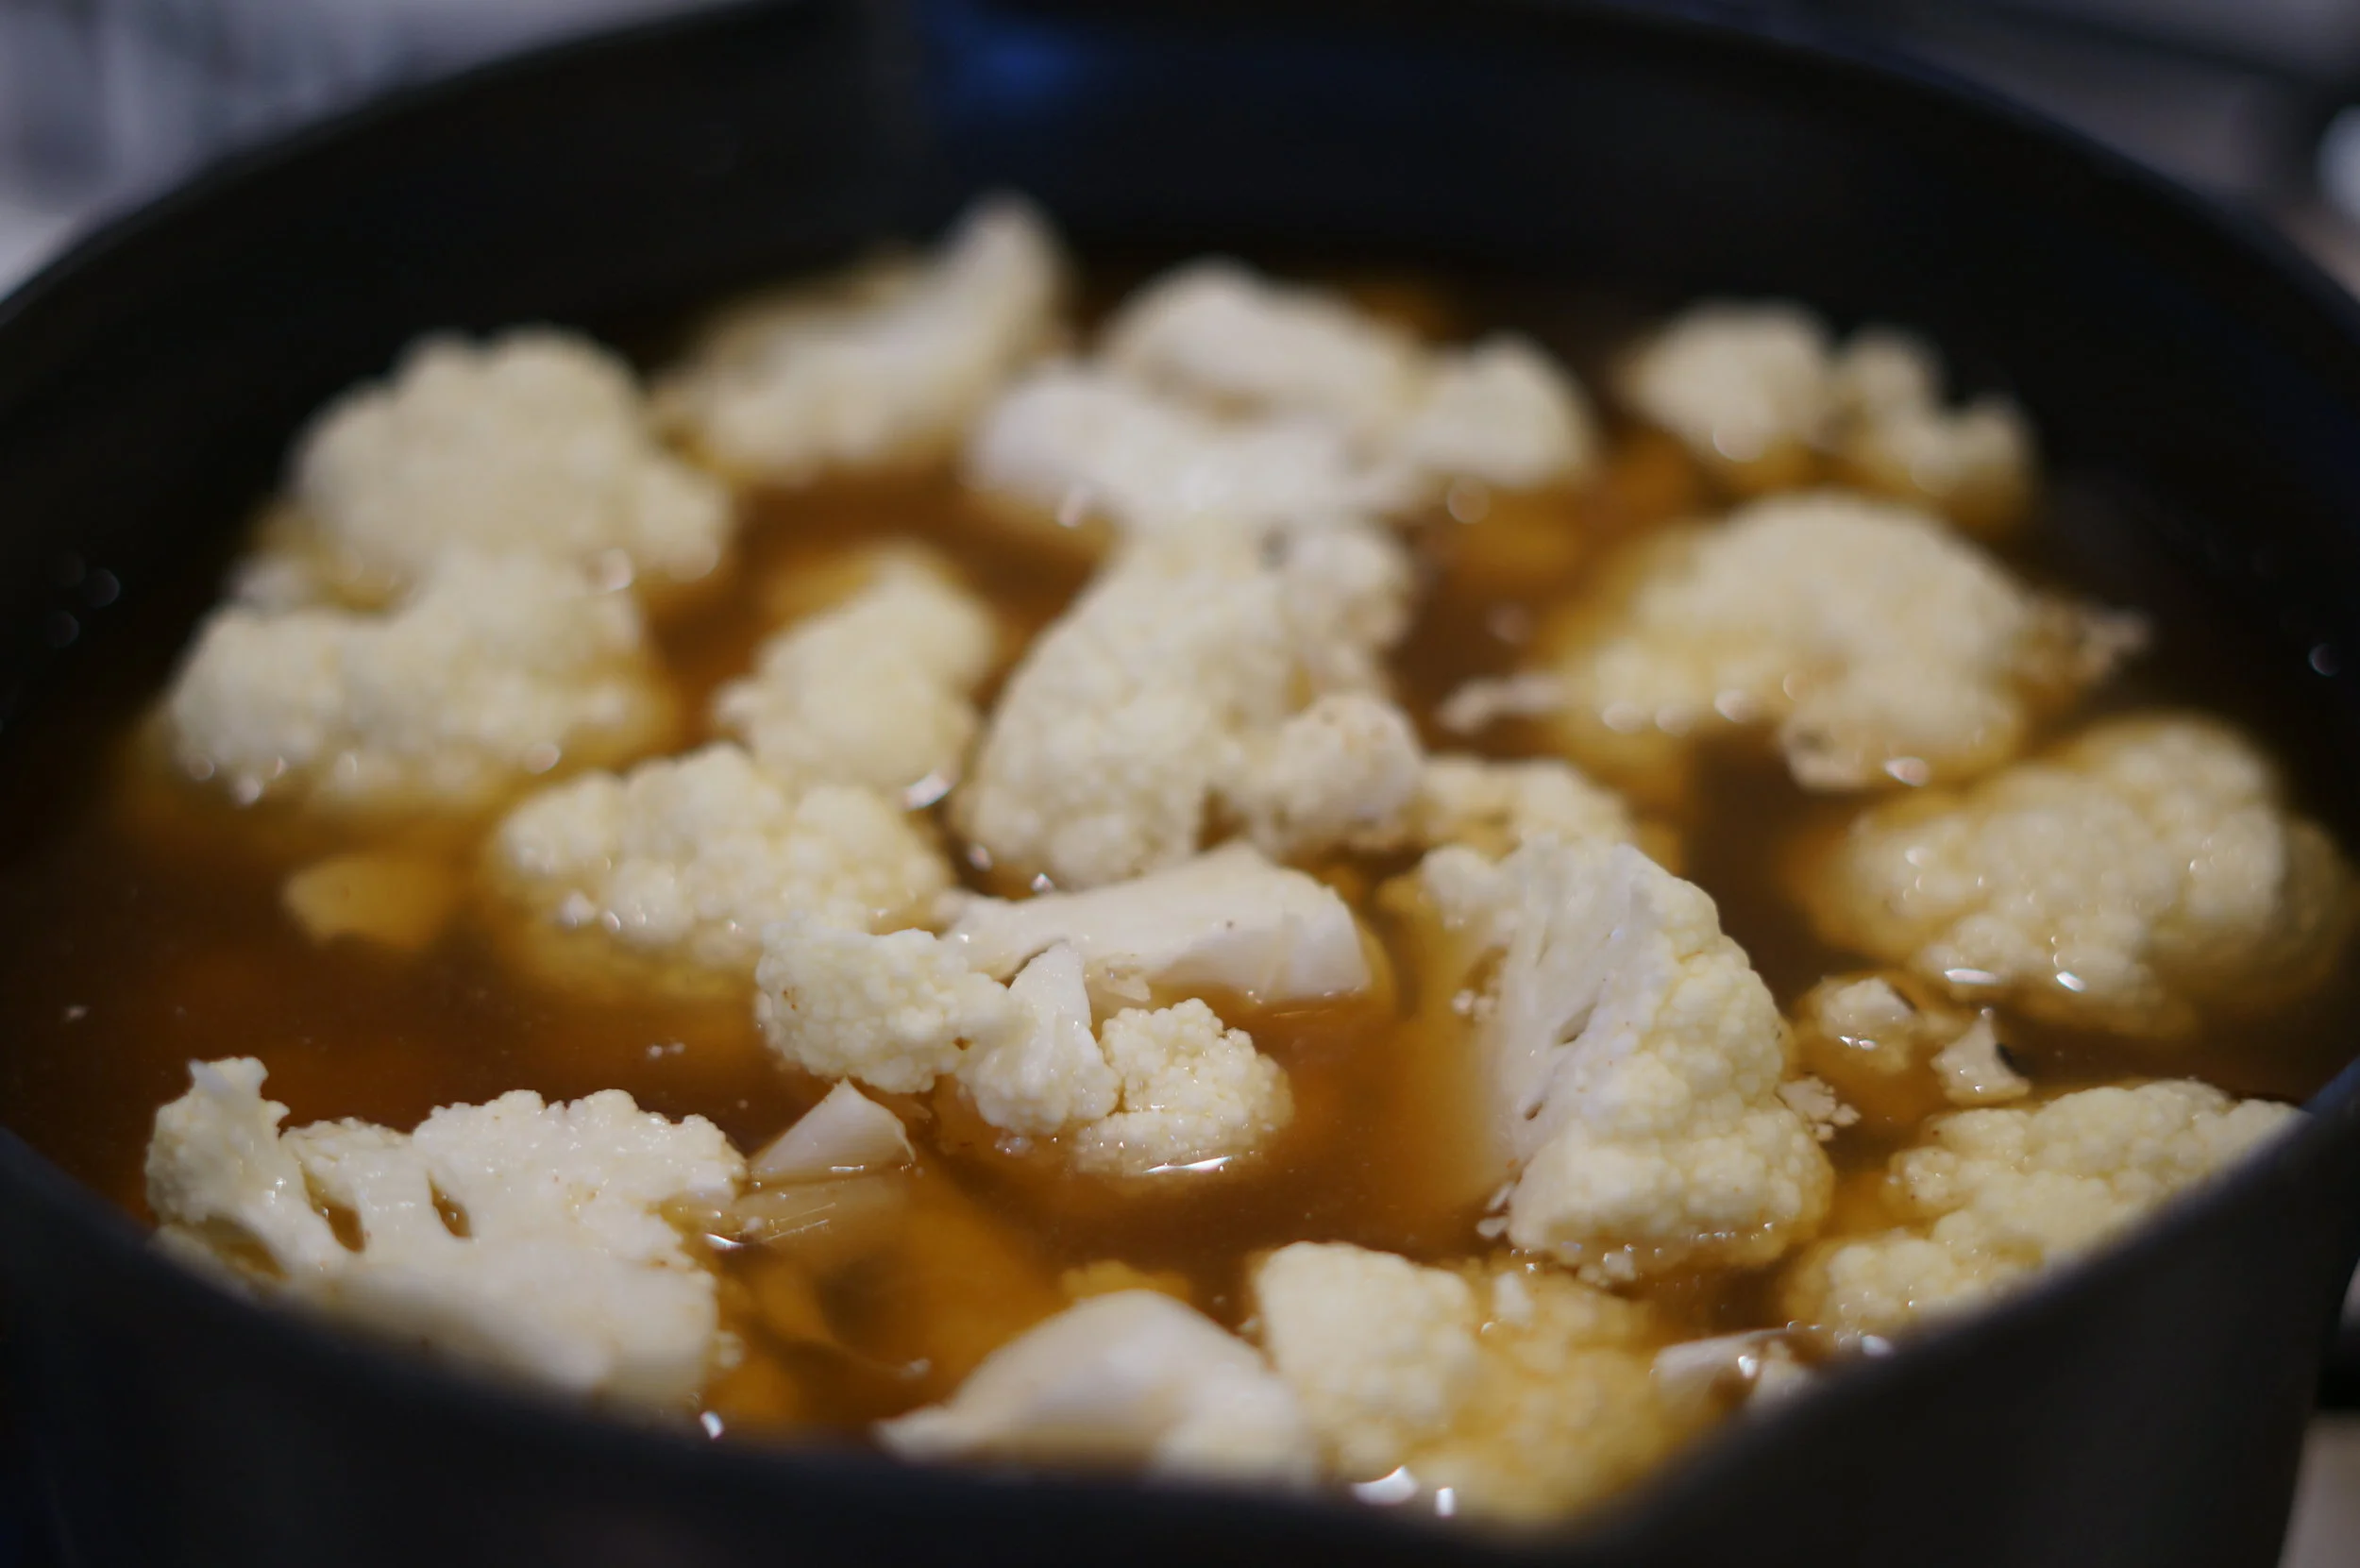
Now add your broth, cauliflower, garlic, and a pinch of cayenne. Bring to a boil. Once boiling, turn heat down to medium and cover. You want to simmer for 25 minutes.
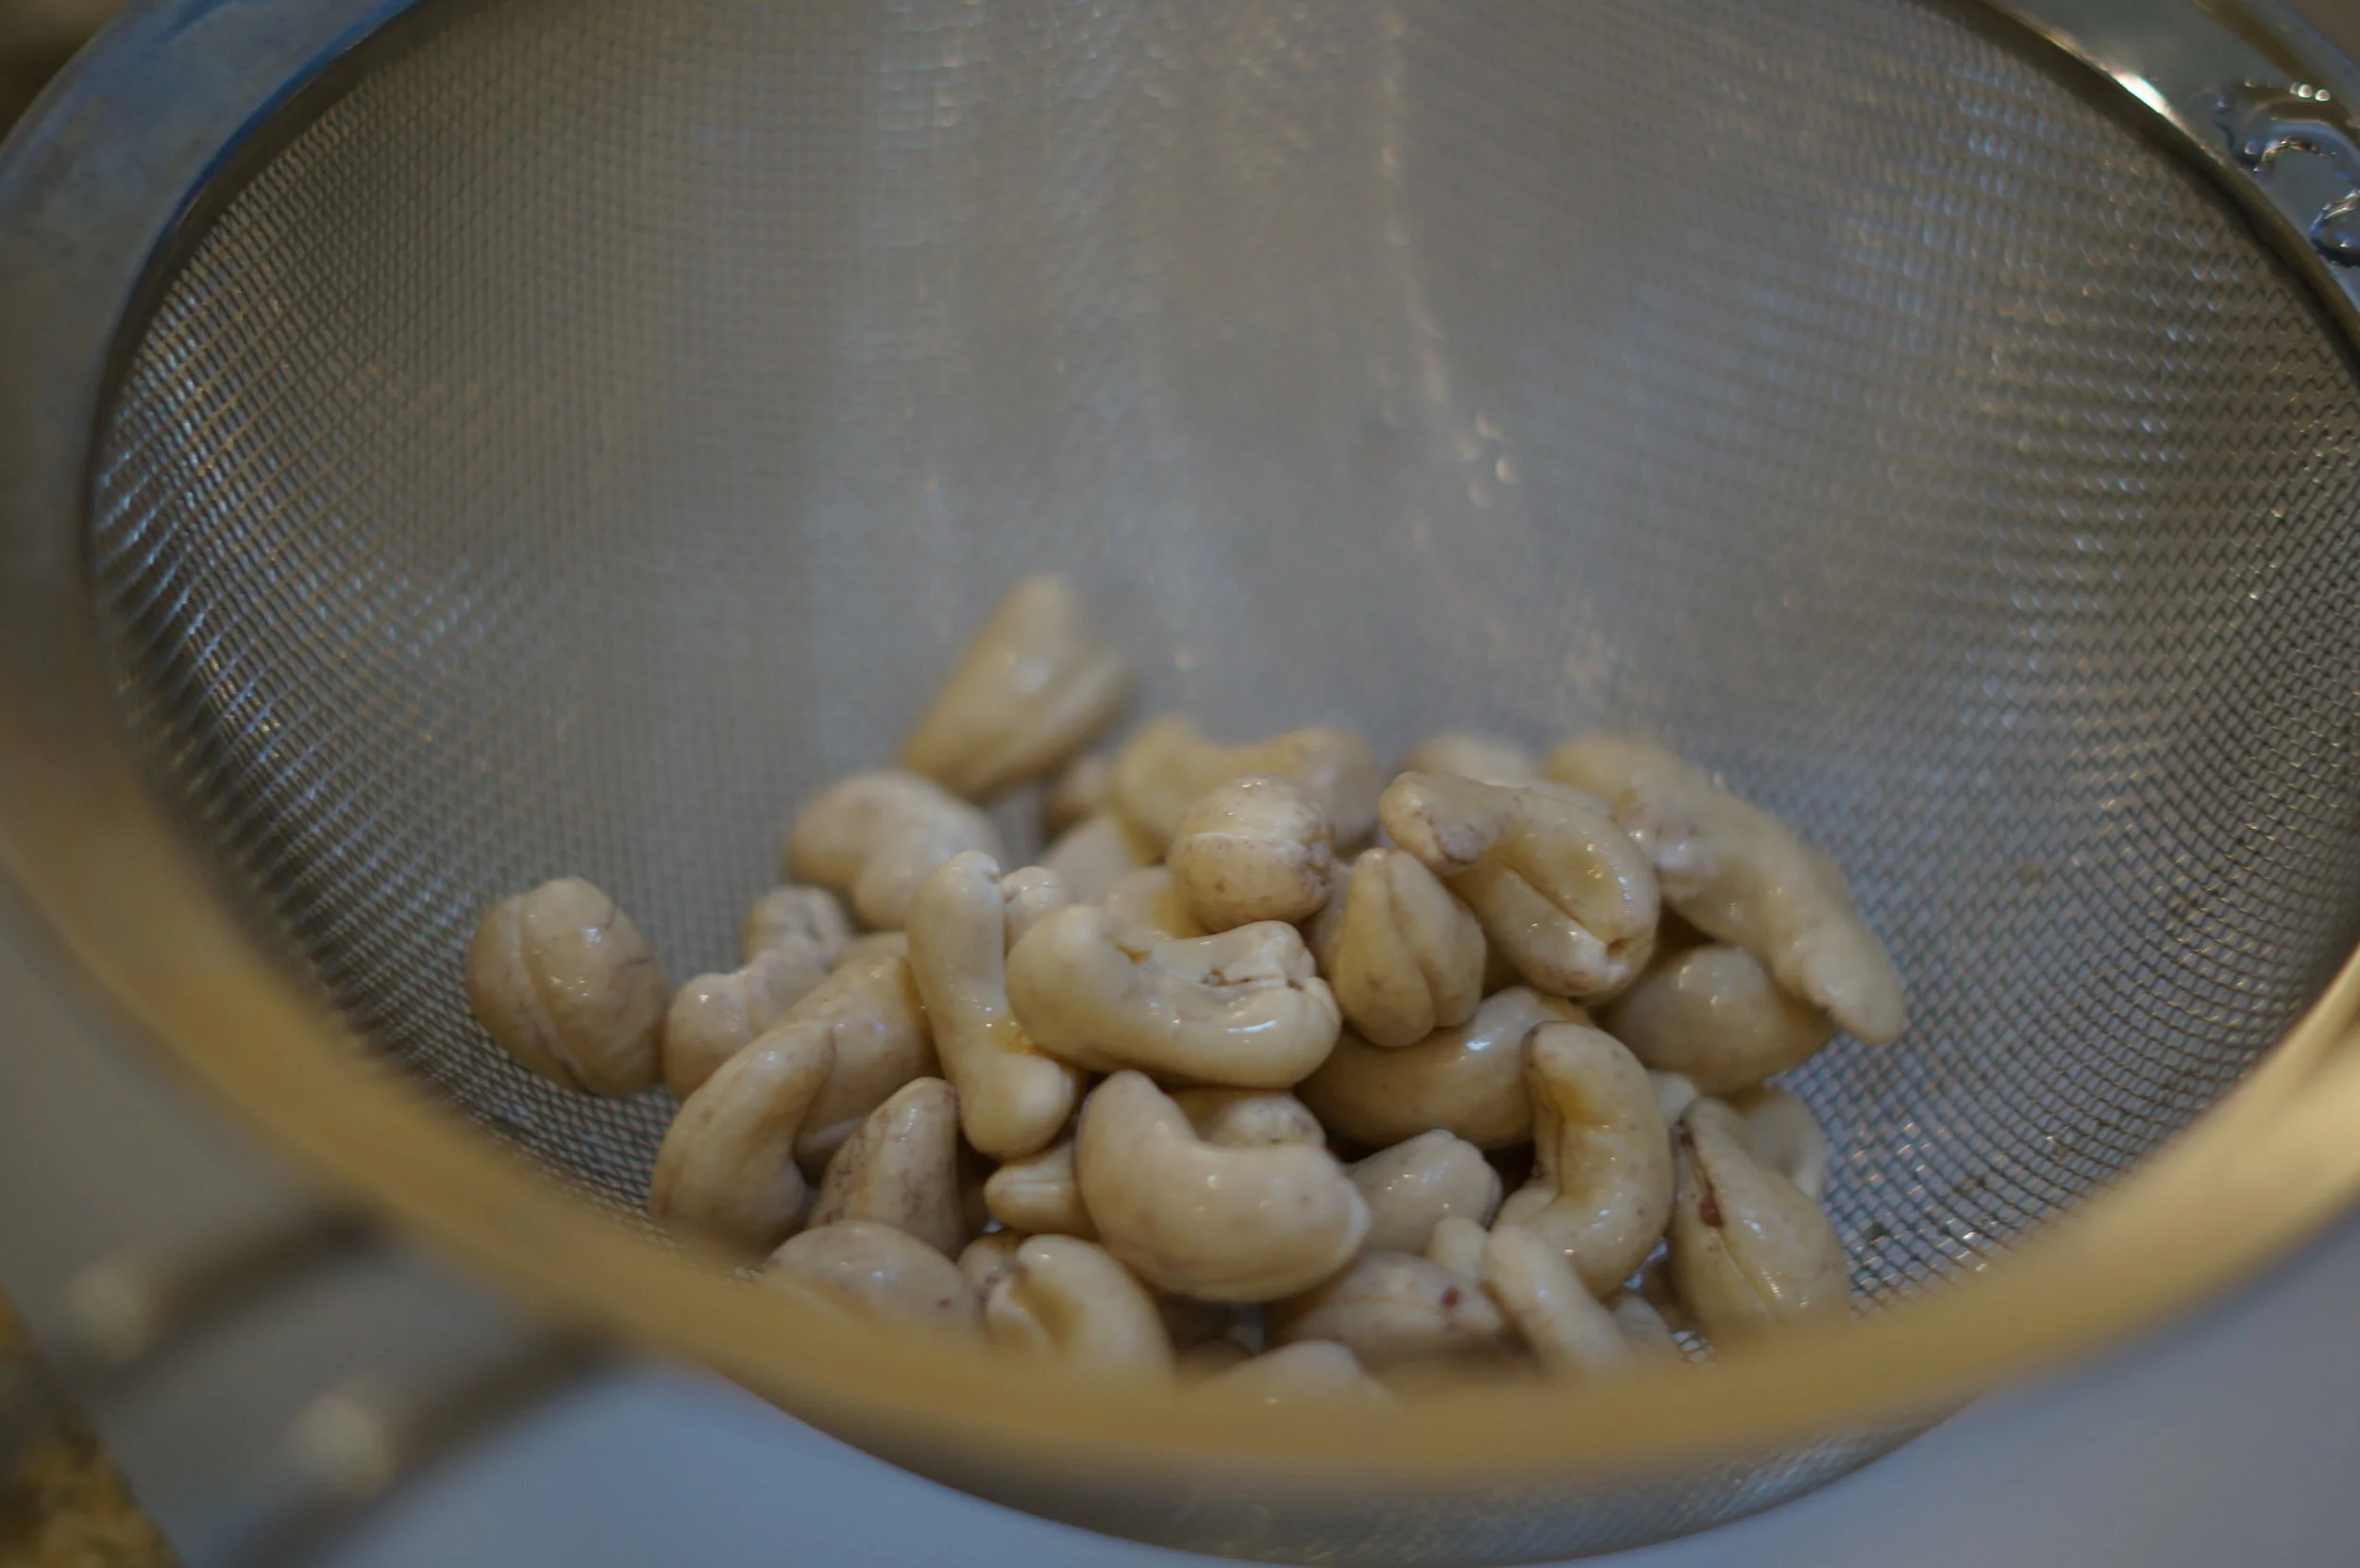
Drain your soaked cashews and rinse with water. Set aside.
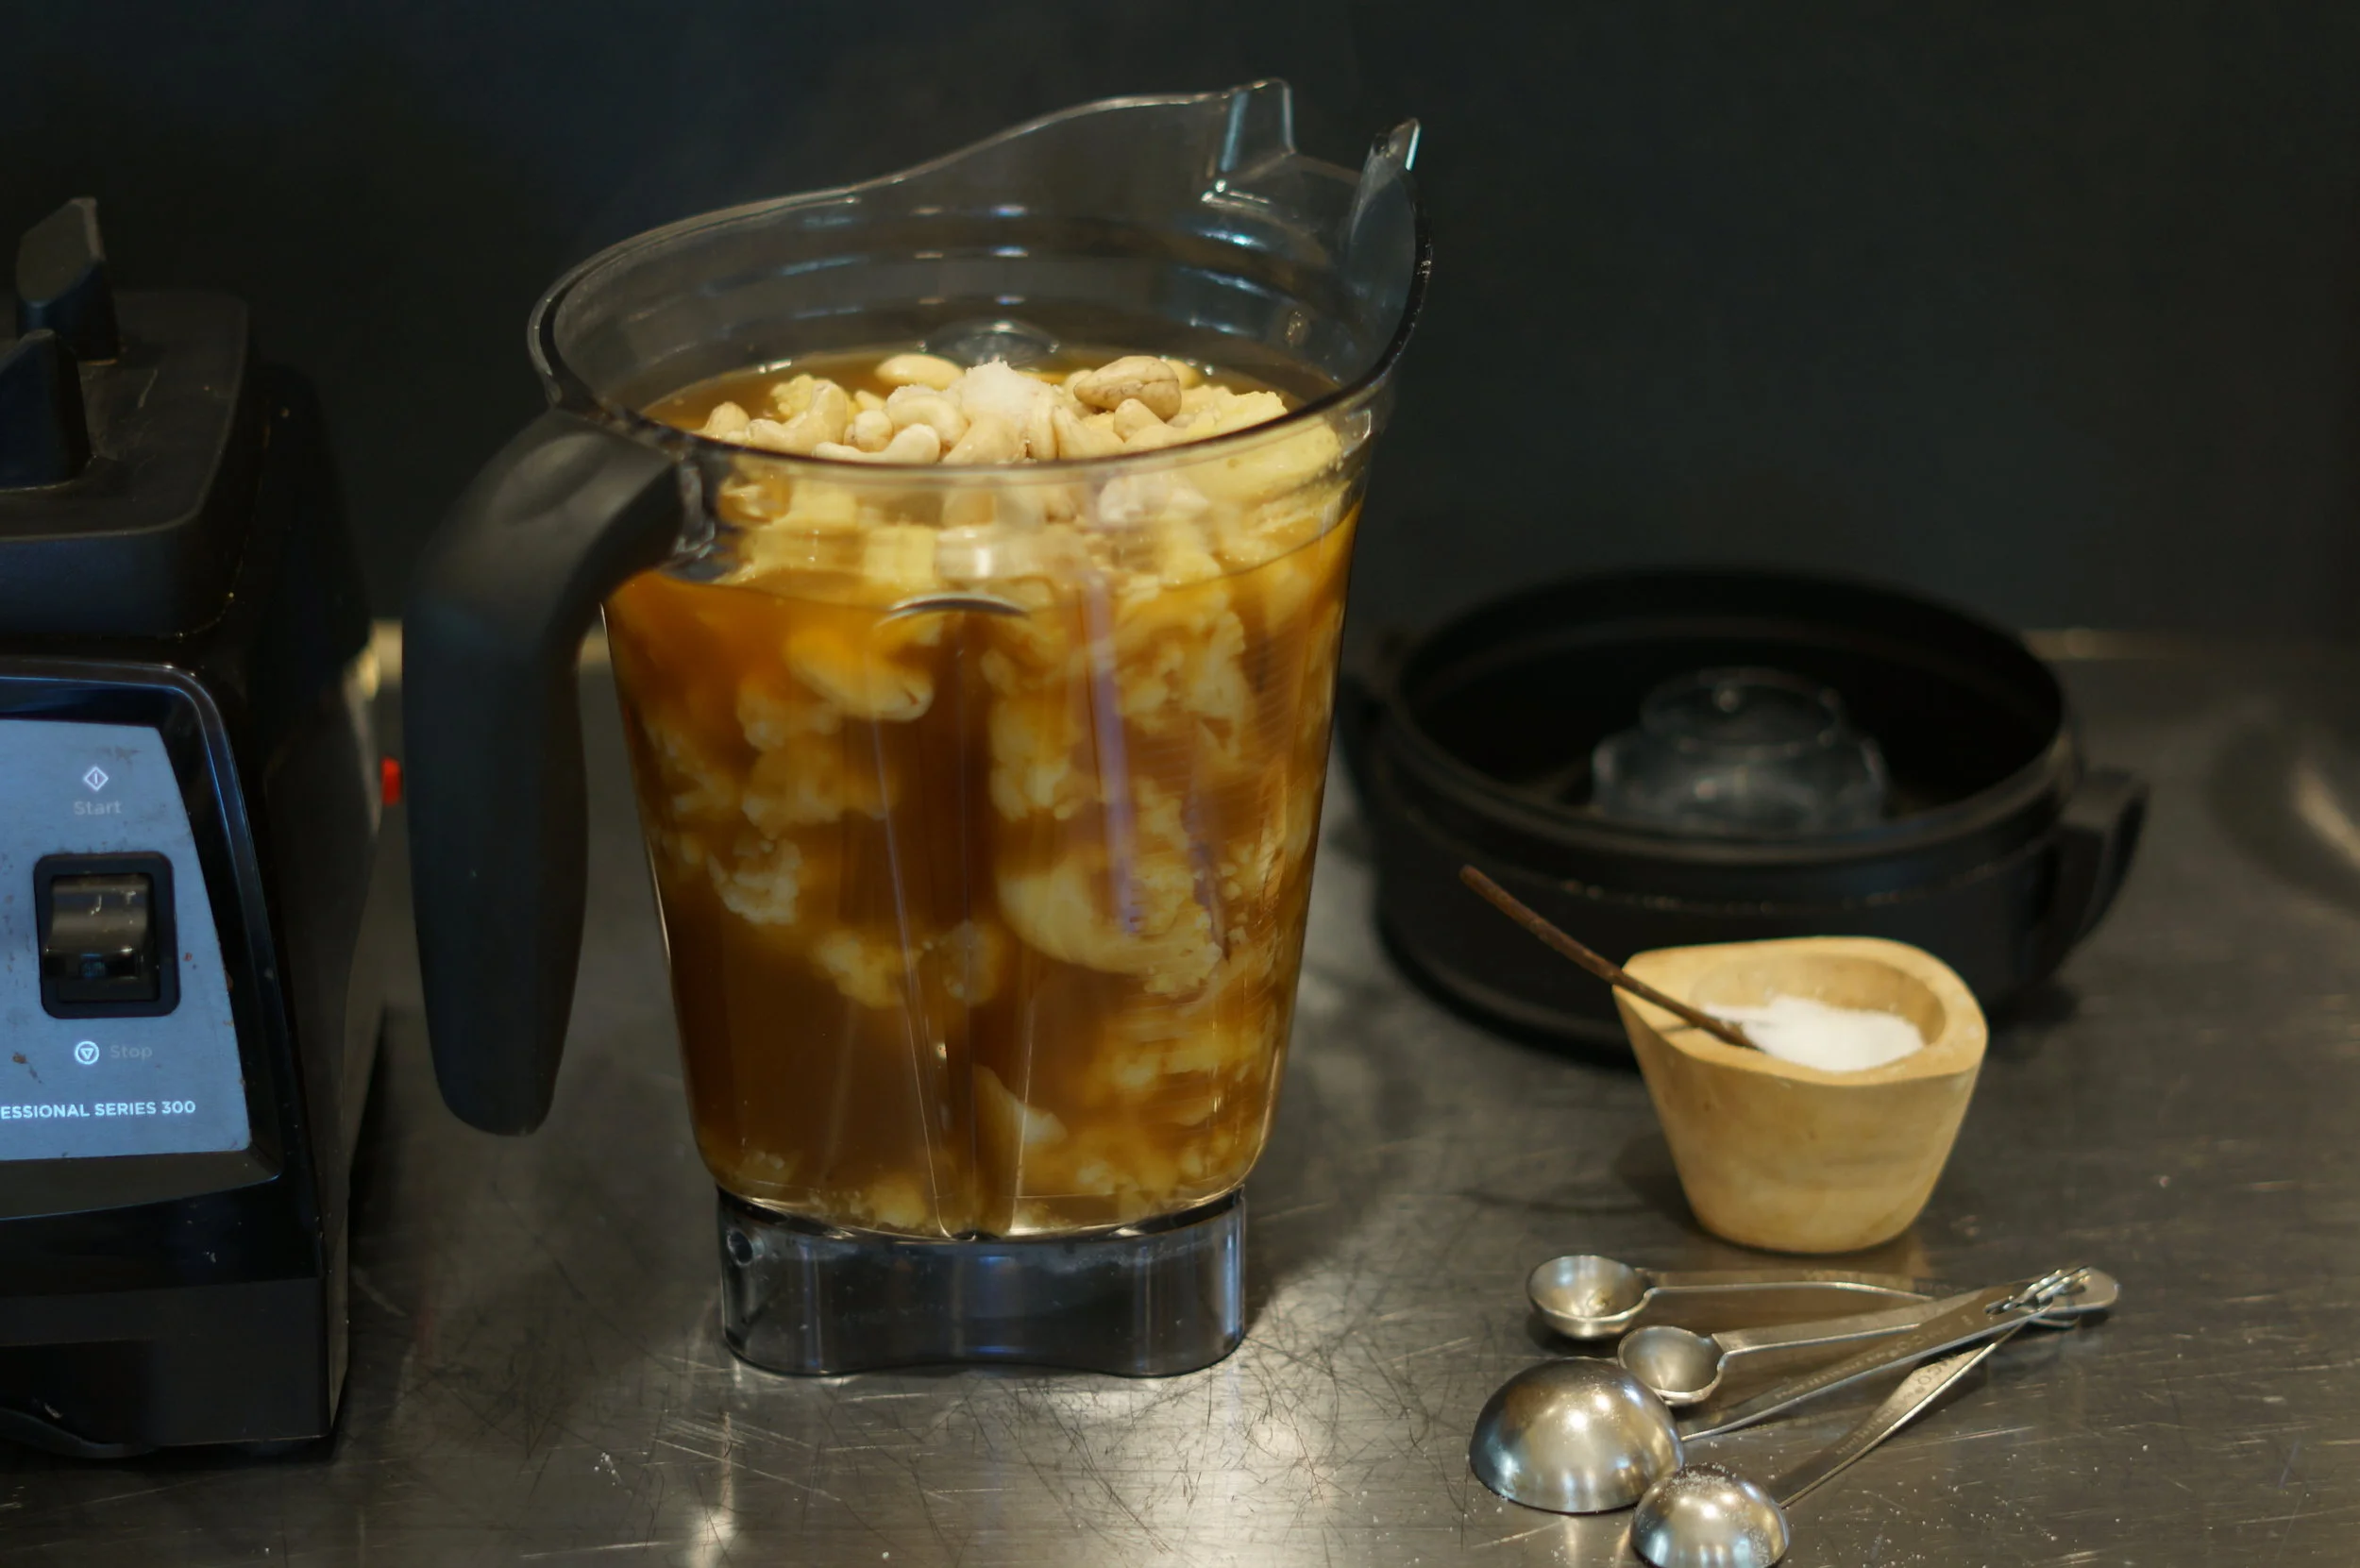
After 25 minutes add the mixture to a blender. (I have a Vitamix blender which I love...it's so freaking powerful). Now add the drained cashews and salt to the blender. Its better to let the mixture cool down before you blend it. But if you are impatient like me you can blend it in 2 batches, to allow the steam from the hot liquid to escape easier. When blending hot liquids, hold the lid off the top a little with a towel to allow the steam to escape, otherwise you may have an explosion. If your cauliflower head was small, then reserve about 1/2 cup of the broth and do not add all till after you have blended it to make sure you achieve the right consistency.
CREAMY CAULIFLOWER SOUP RECIPE
Serves: 4 people
Prep Time: 15 minutes
Cooking Time: 25 minutes
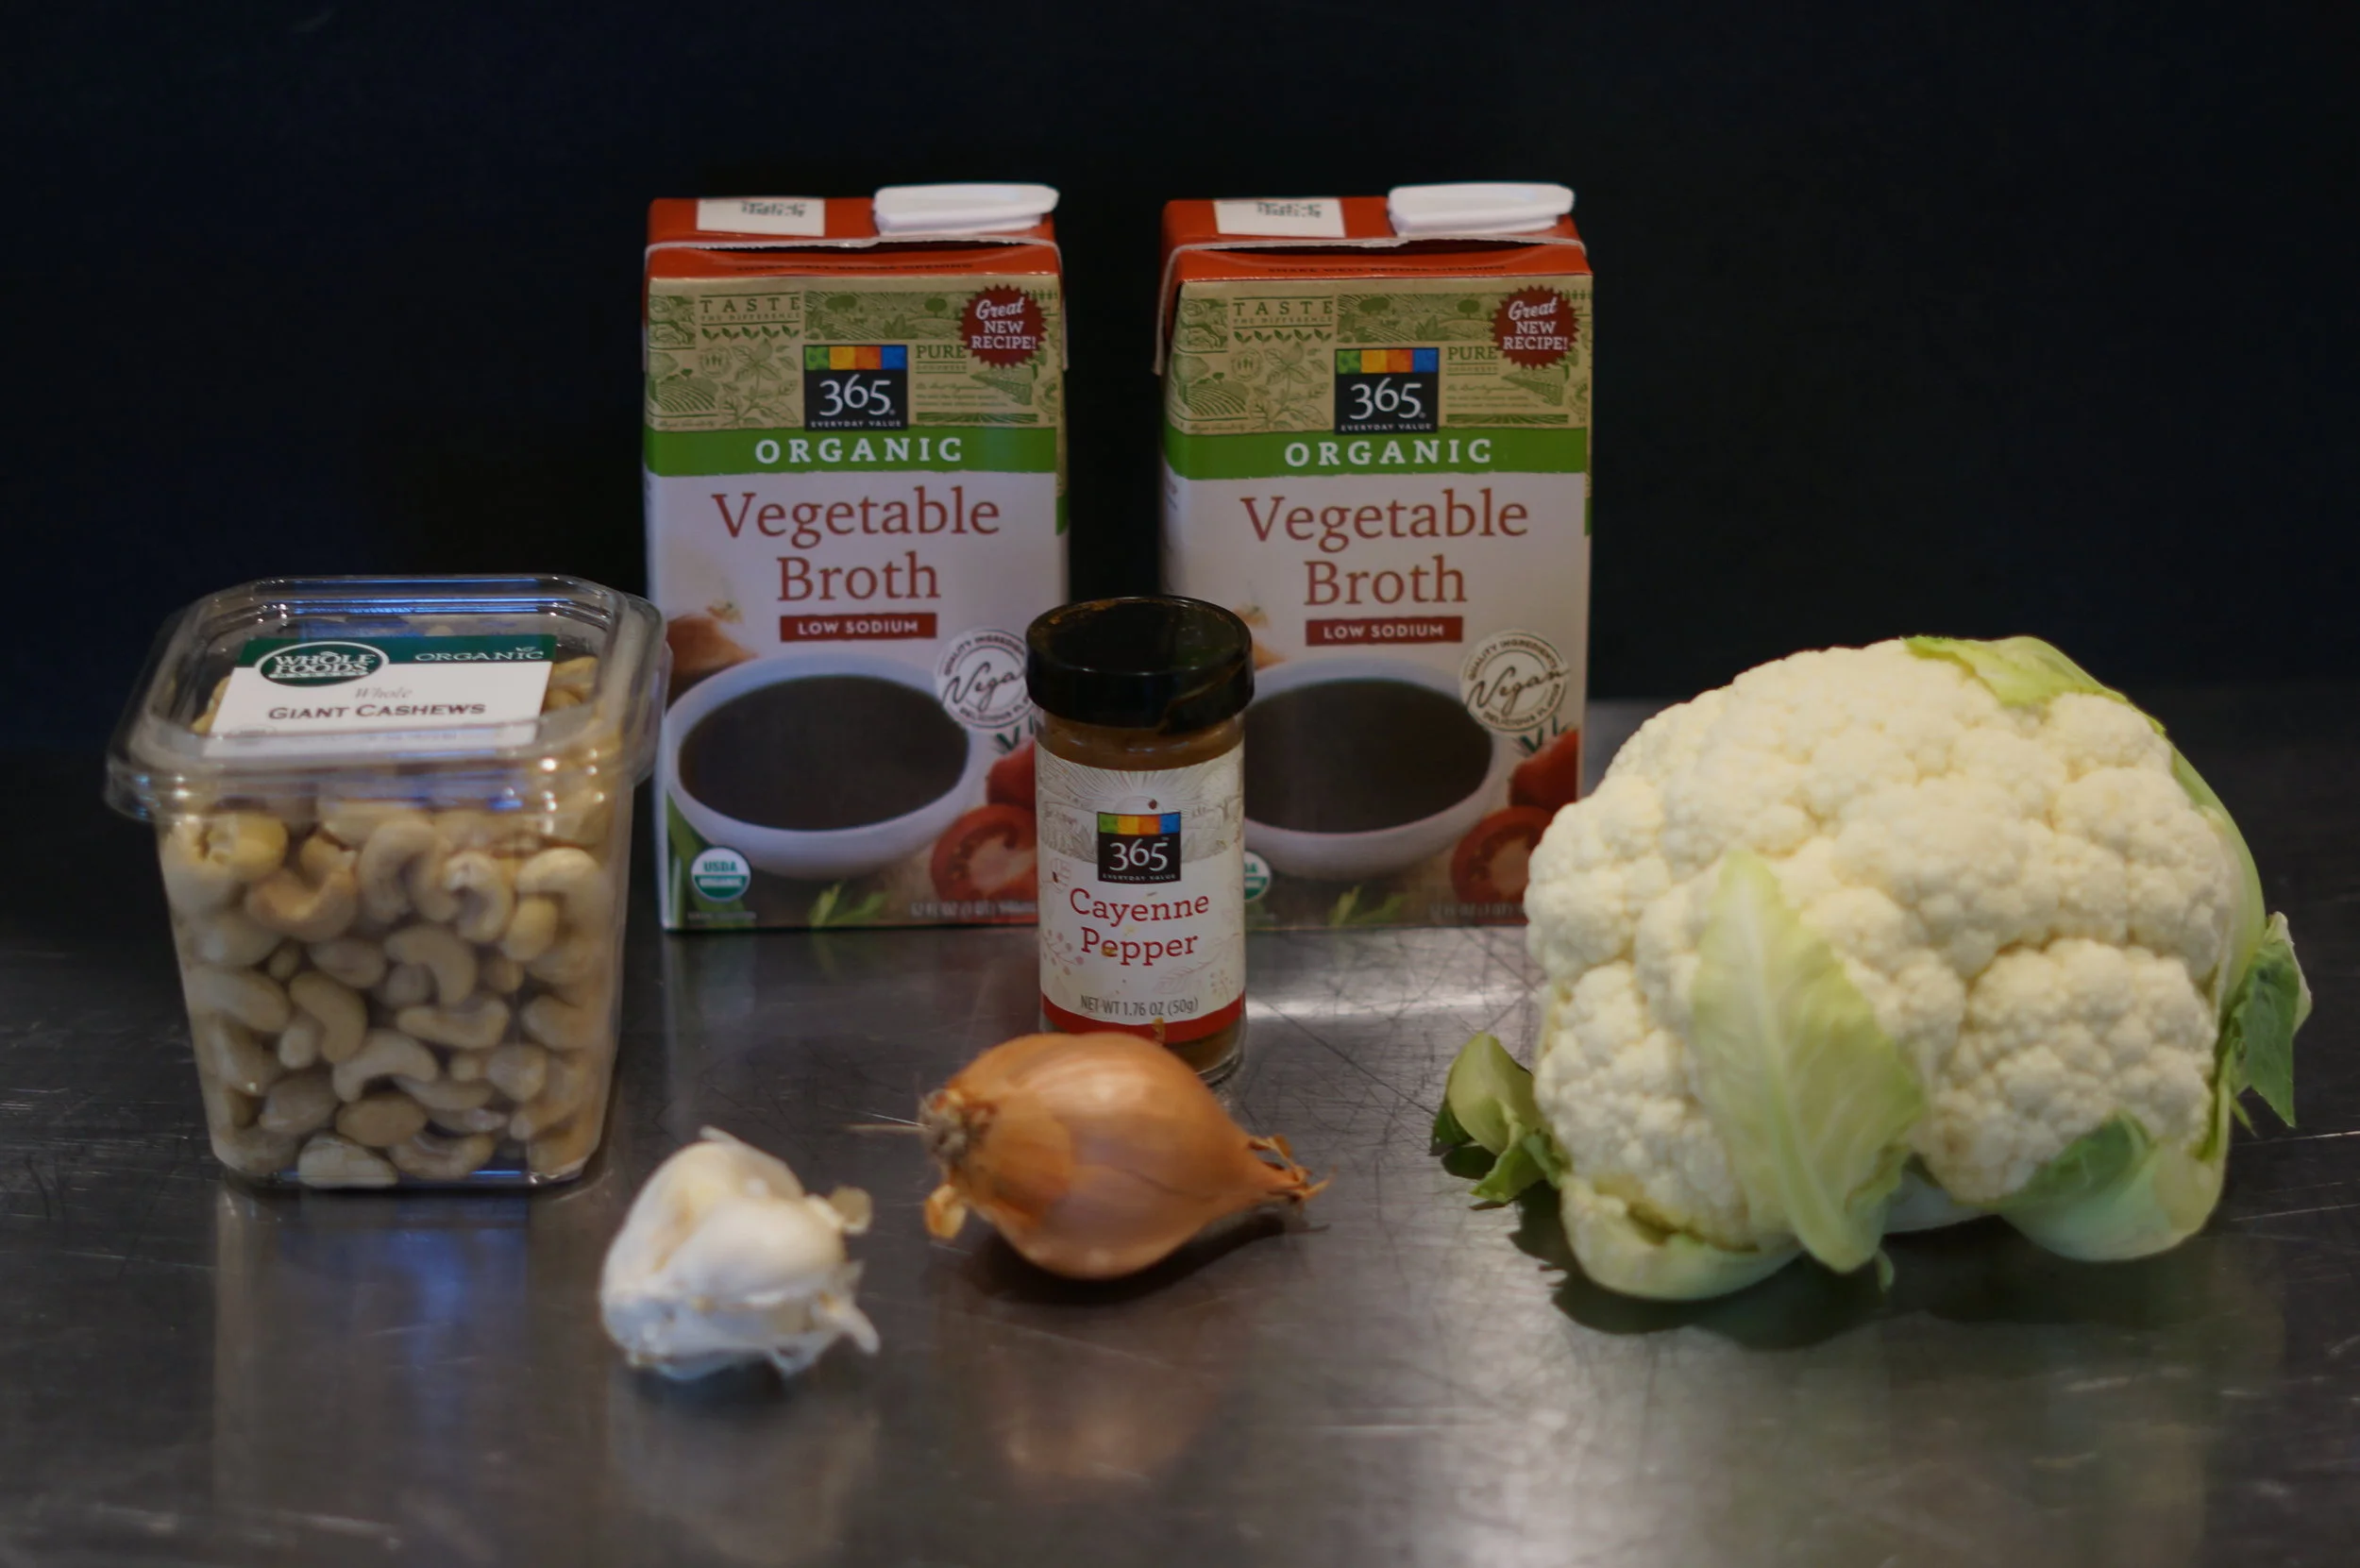
INGREDIENTS
- 1/2 cup raw whole cashews (soaked in water 2 hours - overnight)
- 1 head of cauliflower
- 5 cups low sodium vegetable broth (two 32 ounce boxes)
- 1 teaspoon olive oil
- 2 shallots
- 2 garlic cloves
- pinch of cayenne pepper
- 2 teaspoons salt
pREPARATION
- Soak your cashews a minimum of 2 hours, but preferably overnight. I explain why above, but basically they will be easier to digest. Place the cashews in a bowl with enough water to cover them by about one inch.
- Cut up your cauliflower into small pieces. Discard the leaves and core.
- Prep your shallots. Cut the ends off and peel off the orange skin. Then roughly chop the shallot.
- Mince your garlic, or run it through a garlic press.
- Pull out a medium sauce pan and turn heat on high.
- Add one teaspoon of oil to the pan and add the shallots. Cook on high heat for 3 to 5 minutes, stirring occasionally till they have a little color.
- Add the broth, cauliflower, garlic, and a pinch of cayenne. (store the remaining broth in the fridge)
- Bring to a boil.
- Once boiling, put the lid on, turn the heat to medium and simmer for 25 minutes.
- Drain and rinse cashews. Set Aside.
- After 25 minutes take off the heat and let the mixture cool down.
- Once cooled put the mixture in the blender. Add the salt and cashews. (I like to reserve about 1/2 of the cooking liquid to make sure your soup is the right consistency. Cauliflower comes in all different sizes, and you can add more broth but you cannot make it thicker once the soup is too thin.)
- Blend 'til smooth and creamy. You can now add the remaining broth to achieve the consistency you desire. If the mixture is still hot, blend in 2 batches to allow room for the steam in the blender. Hold the blender top a little open so the steam can escape. Be careful with hot liquids in the blender. I like to hold the top down with a towel on top to prevent an explosion of hot liquids. Yes, I have had to wipe down my cabinets with a hot soup explosion...not pretty!
- Taste for saltiness and heat. You can add more cayenne or salt to taste and blend on the highest setting to create a smooth soup.